Every outdoor living space needs a cozy spot to lounge. If you’re looking for a timeless, durable, and perfectly sized option for your patio or backyard- this custom outdoor sofa is the answer! Emmett and I built this one eight years ago to fit our backyard patio exactly, using affordable materials you can find at any hardware store. It’s a DIY that looks high-end, feels sturdy, and easily blends with any exterior aesthetic. Keep reading for the full step-by-step tutorial, plus all the tools, materials, and tips I’d recommend if you’re planning to build your own. This custom stucco sofa quickly became our favorite part of the backyard! It’s a beautiful solution for providing comfortable, durable seating on the patio.
I’ve shared many outdoor living DIY projects over the years, because we really put our exterior spaces to use… they’re a functional extension of our interior. Since moving into our current home, we shared how to easily tile over an existing concrete patio, we installed an outdoor kitchen, and even built a charming storage shed, but I really do miss this outdoor lounge at our previous house. Outdoor projects are among my favorite to design, tackle, and share- this custom outdoor sofa might just be my all-time favorite. Let’s dive in!
Materials and Tools
Click directly on each item below to be redirected... or use the list links.

Materials
- Cinder blocks (8x8x16)
- Concrete cap blocks
- Rebar (optional for added stability)
- Surface bonding cement
- Landscape adhesive
- Pressure treated lumbar (2x4x10)
- Severe weather pressure treated plywood
- Outdoor cushions
- Concrete screws
- H&C Colortop concrete stain
Tools

Step-By-Step Guide
I had initially sketched an idea of a stucco sofa when planning the backyard. Emmett was a little skeptical of my idea, but together, we did a ton of research prior to building this thing. I’m really satisfied with the end result, how it has held up, and the aesthetic exceeded my expectations. Here’s how we did it…
Plan and Prepare

Measure your space and determine the desired dimensions of your sofa. You’ll definitely want to purchase the outdoor cushions first, to ensure a perfect fit. Once we had the dimensions of the cushions, we planned how large we wanted the structure to be. We also planned for storage beneath the cushions. Emmett tripled checked his math, confirmed our outdoor measurements, and we began prep!
Level the Foundation

Prepping the area is a lot like prepping for a paver patio. We dug out the area, tamped the ground, and added some fine gravel prior to setting our cinderblocks. The key is to make sure everything is level.
Begin Building

Arrange the cinder blocks in a rectangle to form the base, using a running bond pattern for stability.
Use a level to ensure each block is even. Continue building until you reach your desired size and shape. You may notice, we opted to leave our sofa hollow inside… our plan was to use that section for storage. You can quickly see it taking shape and looking more like a sofa frame!
Secure the Structure
Once the blocks are arranged to your preferred size and shape, you’ll need to secure them. Apply landscape adhesive between the blocks to permanently bond them together. It takes a little muscle, but I did this step on my own (without Emmett’s help), so don’t let it intimidate you.

Next, insert rebar vertically into the hollow centers of the blocks for added strength. Insert one piece of rebar into every other hole, hammering it down with a mallet until it is flush with the top cinderblock, as shown.

Once all of the rebar rods have been installed, mix up concrete and pour the concrete into the holes surrounding the rebar. You only have to pour concrete into the holes containing rebar rods (every other one). This ensures the structure stays together and won’t shift or crack with time.

Allow the concrete to cure overnight before beginning the next step! You want to make sure it’s nice and sturdy.

Add Cap Blocks
Place the concrete cap blocks on top of the cinder blocks to create a smooth, finished surface. Secure them with landscape adhesive, like you did with the cinderblocks. Use a rubber mallet to secure it into a permanent position. Allow these to completely set and harden before moving onto the next step!


Apply Surface Bonding Cement
Dampen the entire structure with water. Using a trowel, apply the surface bonding cement (we used white) over the entire surface, smoothing it out for a stucco-like finish.

It looks like traditional stucco, but is easier to apply- and more durable. It is a little tricky to mix the correct consistency. Add water slowly and a little at a time. It should look a little something like this…

It’s best to work from one corner to the other, finishing one section at a time. Fluid motions are best, swiping the trowel over the cinderblock in one swoop. It’s kind of like frosting a cake.


You’ll actually be able to see the fiberglass particles in the mixture. This is what makes this material so strong.

Allow the cement to cure as per the manufacturer’s instructions. You’ll want to keep the material wet as you’re working, and even once it’s finished. This assists with the curing process.


Build the Interior Frame
Measure and use a chalk line to mark where the seating will go. Pre drill holes to mark where the structure will be installed. Again, this is all to your preference- structure size, cushion size / style, etc.

We used treated, weather resistant lumber to build the grid support structure. Once it was completed, we screwed it directly into the structure. Contrary to the image below, the wooden support will be mounted just below the seat. This was before we pushed it down into the appropriate position…

Cut a piece of treated plywood to size, then rest it on top of the grid support. It should be perfectly flush with the stone seat and look something like this…

Paint


If you’re wondering what type of product I used to paint the concrete, I actually used a concrete stain. I needed something that would withstand outdoor weather and bond to the cement. The pros recommended H&C COLORTOP. It’s a water-based stain that provides a long-lasting, durable finish to interior or exterior concrete, masonry, or asphalt surfaces. You pick a swatch just like a regular paint, even though it’s considered a stain. I chose the color Snowbound SW 7004.

This specific concrete stain colors, fills, and extends the life of stone by sealing it. You can also use it on previously painted concrete surfaces. I applied the product with a brush to get into every little crack and maintain the textural stucco aesthetic.


Finishing Touches
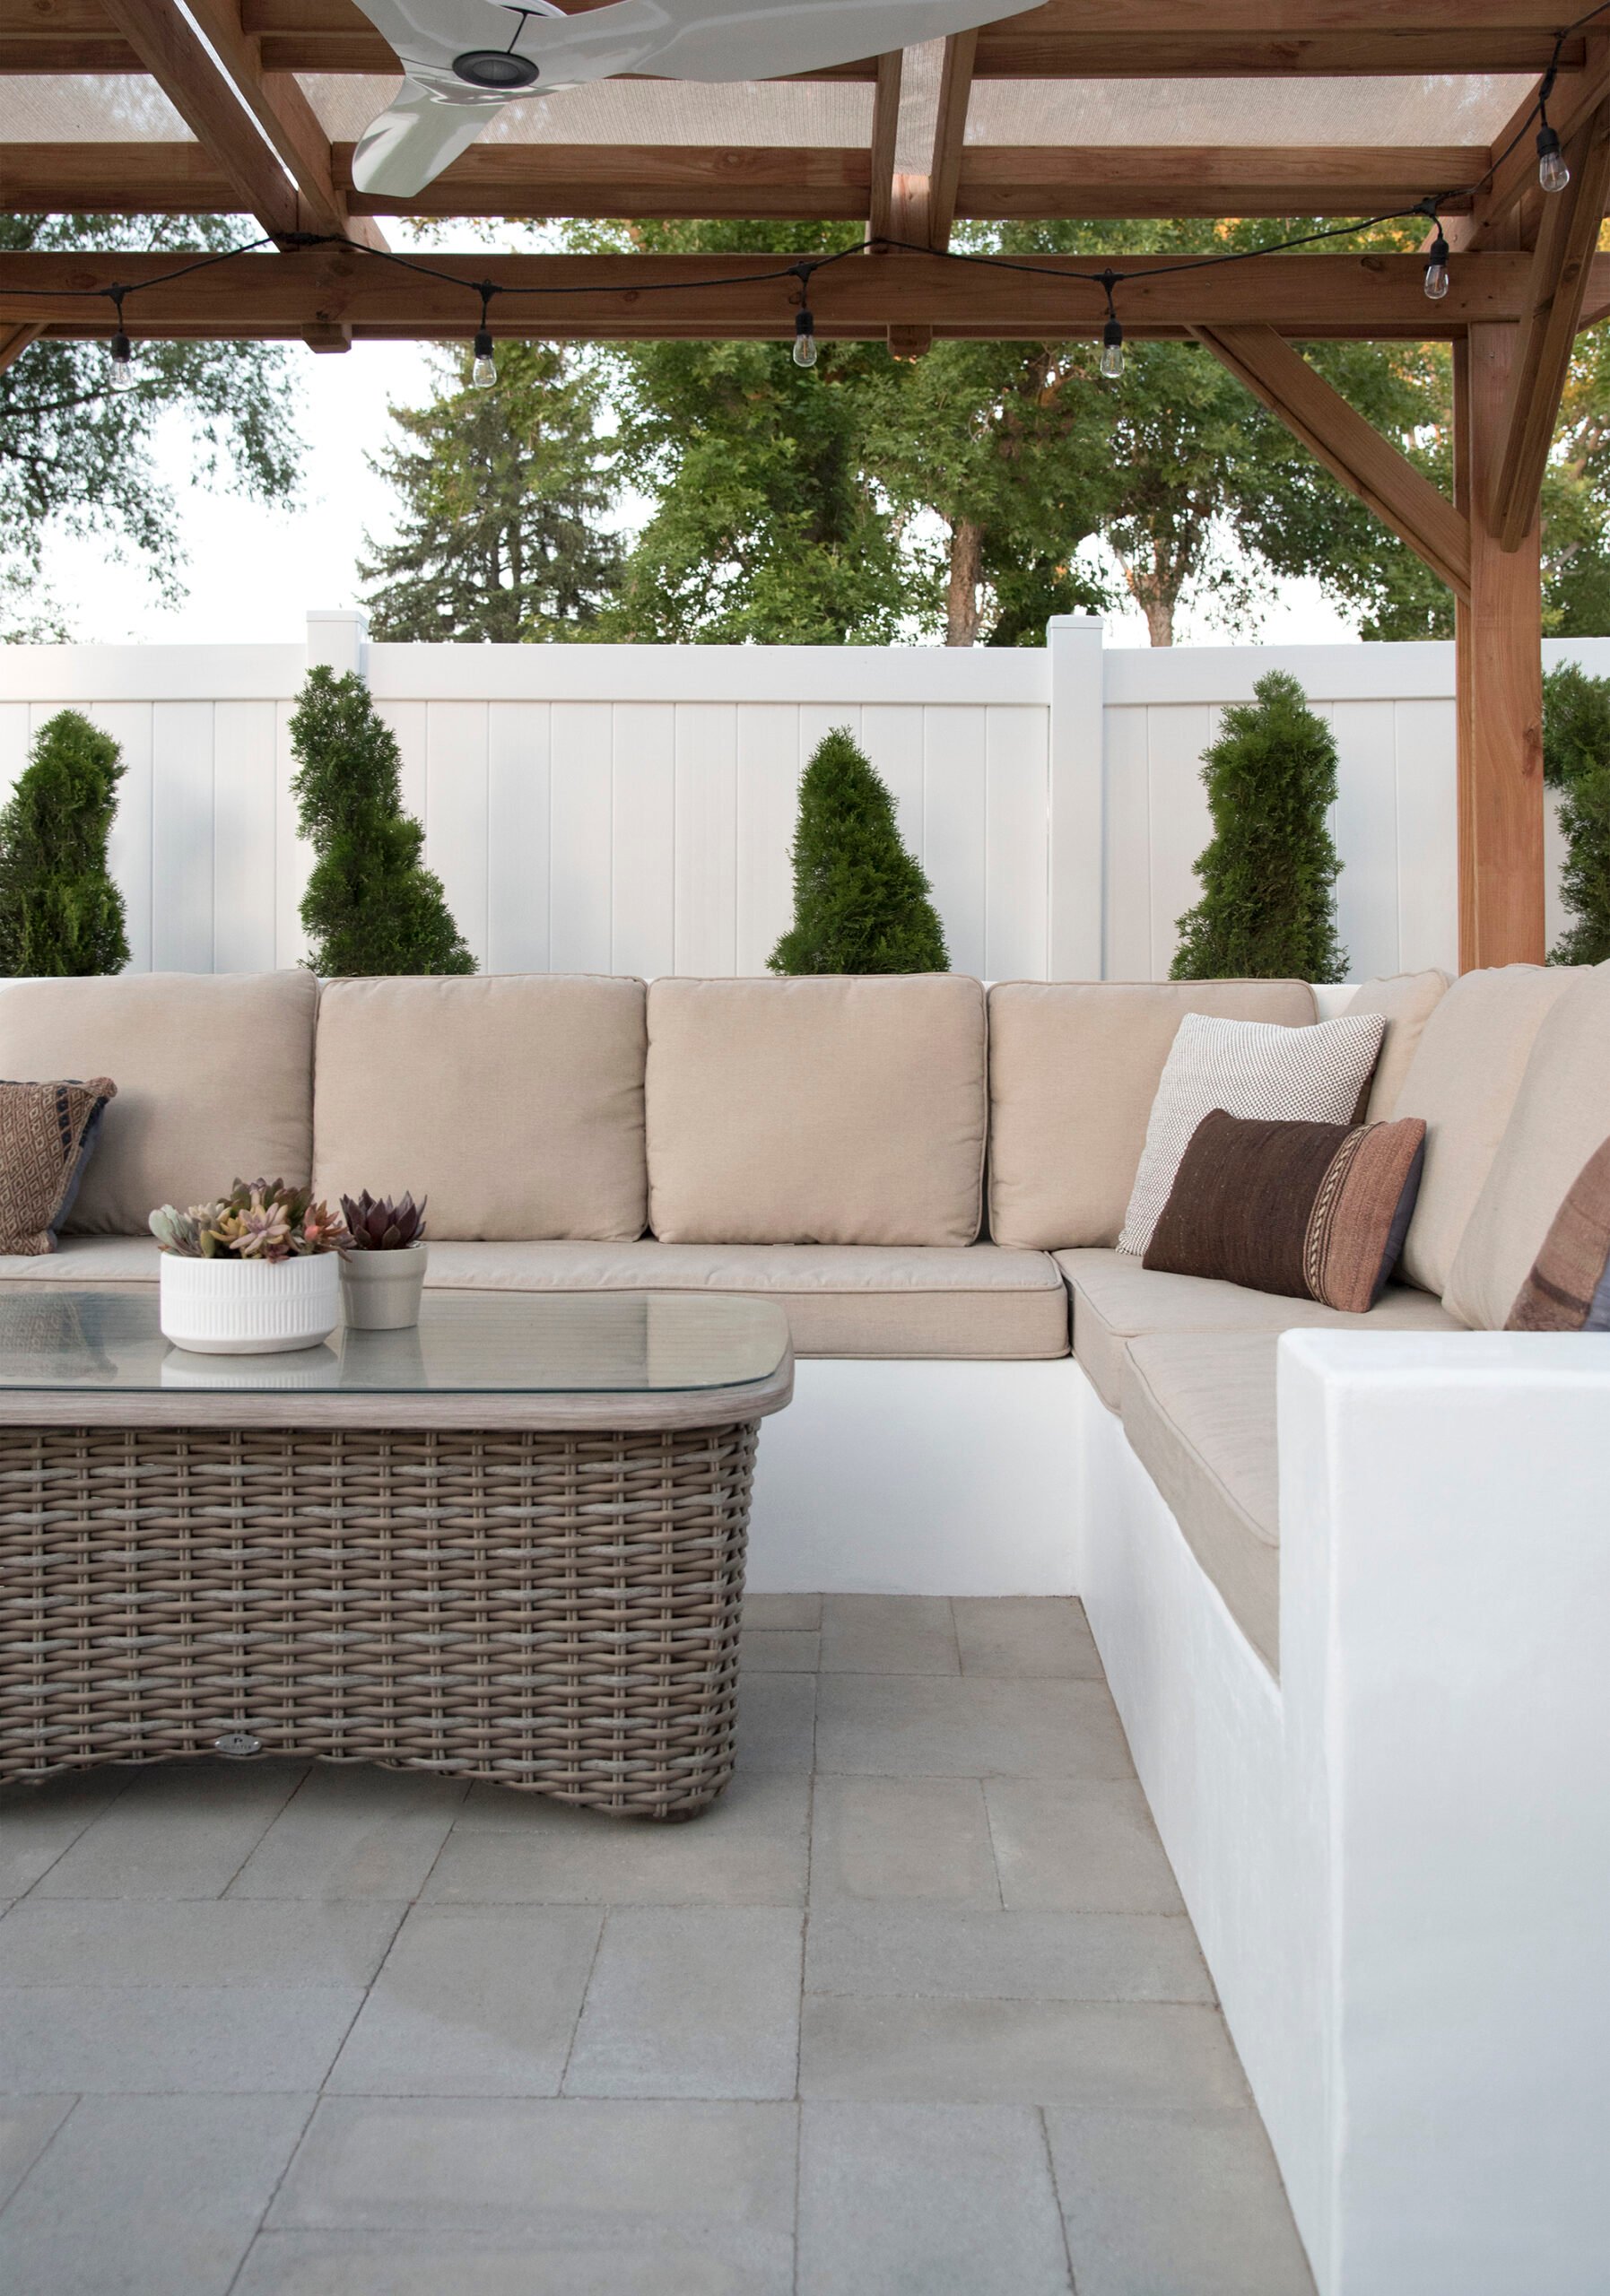
Once the paint has fully dried, you’re ready to add the outdoor cushions! I also like to style blankets and throws when we’re hosting. Ready to see the finished result?

Prior to our move, we spent a TON of time here enjoying our backyard. It was surprisingly comfortable, fit 8-9 people, and was always the place where everyone gathered, post al fresco dinner parties.

FAQ
Definitely! Check out my designer guide for choosing timeless exterior lighting here.
No- they stayed out spring, summer, and fall, then we store them for the snowy winter season. We zip them into a waterproof bag, and tuck them away in an outdoor tote. Every spring, they’re easy to clean… we just use the power washer!


Related
Looking for more outdoor projects to tackle this summer? I’m going to link some of my favorites for you below…
- Where to Install Outdoor DIY Solar Landscape Lighting
- Outdoor Kitchen Reveal
- 3 Day Project : Transforming Our Side Yard
- How to Choose The Best Garage Door Style & Color For Your Home
- Outdoor Living Tour : My Garden
- Tips for Growing & Caring for Boxwoods
- Replacing Our Roof
- How to Install a Vinyl Privacy Fence
- Al Fresco Summer Tablescape
- How to Install A Custom Paver Patio

I hope this post was helpful! Definitely let me know if you give this backyard seating DIY a try. I’d love to see photos of your own version! Does anyone have any summer projects planned? We need to finish tiling our patio (how to easily tile over an existing concrete patio), so I can finally pull our outdoor furniture back out for the season.
The post How to Build a Custom Outdoor Sofa appeared first on Room For Tuesday.