Have you ever been drawn to a room, but can’t quite figure out what exactly it is you like about it? Panel moulding is one of those classic design details that instantly elevates a space, creating depth, and visual interest. While it looks expensive and feels custom, luckily- simple panel moulding is a project that can be done over a weekend. As a designer, I’m always looking for ways to elevate a room with millwork (or panel moulding) checks all the boxes. Emmett & I put together a very detailed DIY tutorial for you! In this post, I’m walking you through the installation process, sharing some of my design tips, and showing you how to get the right proportions for a designer aesthetic. Let’s dive in…
I’ve talked about millwork multiple times here on the blog… it’s a big component of interior and architectural design I’m pretty passionate about. I wanted to direct you to a couple past posts if you haven’t visited those yet. Before you get started, it’s important to figure out which type of moulding best fits your home and architecture. If you’re unsure, give these a read…
- How to Select Millwork Profiles (plus- the exact options I selected for our colonial home)
- My Thoughts on Moulding & Millwork (book recs, the proportion formula, rookie mistakes, etc)
What is Panel Moulding?

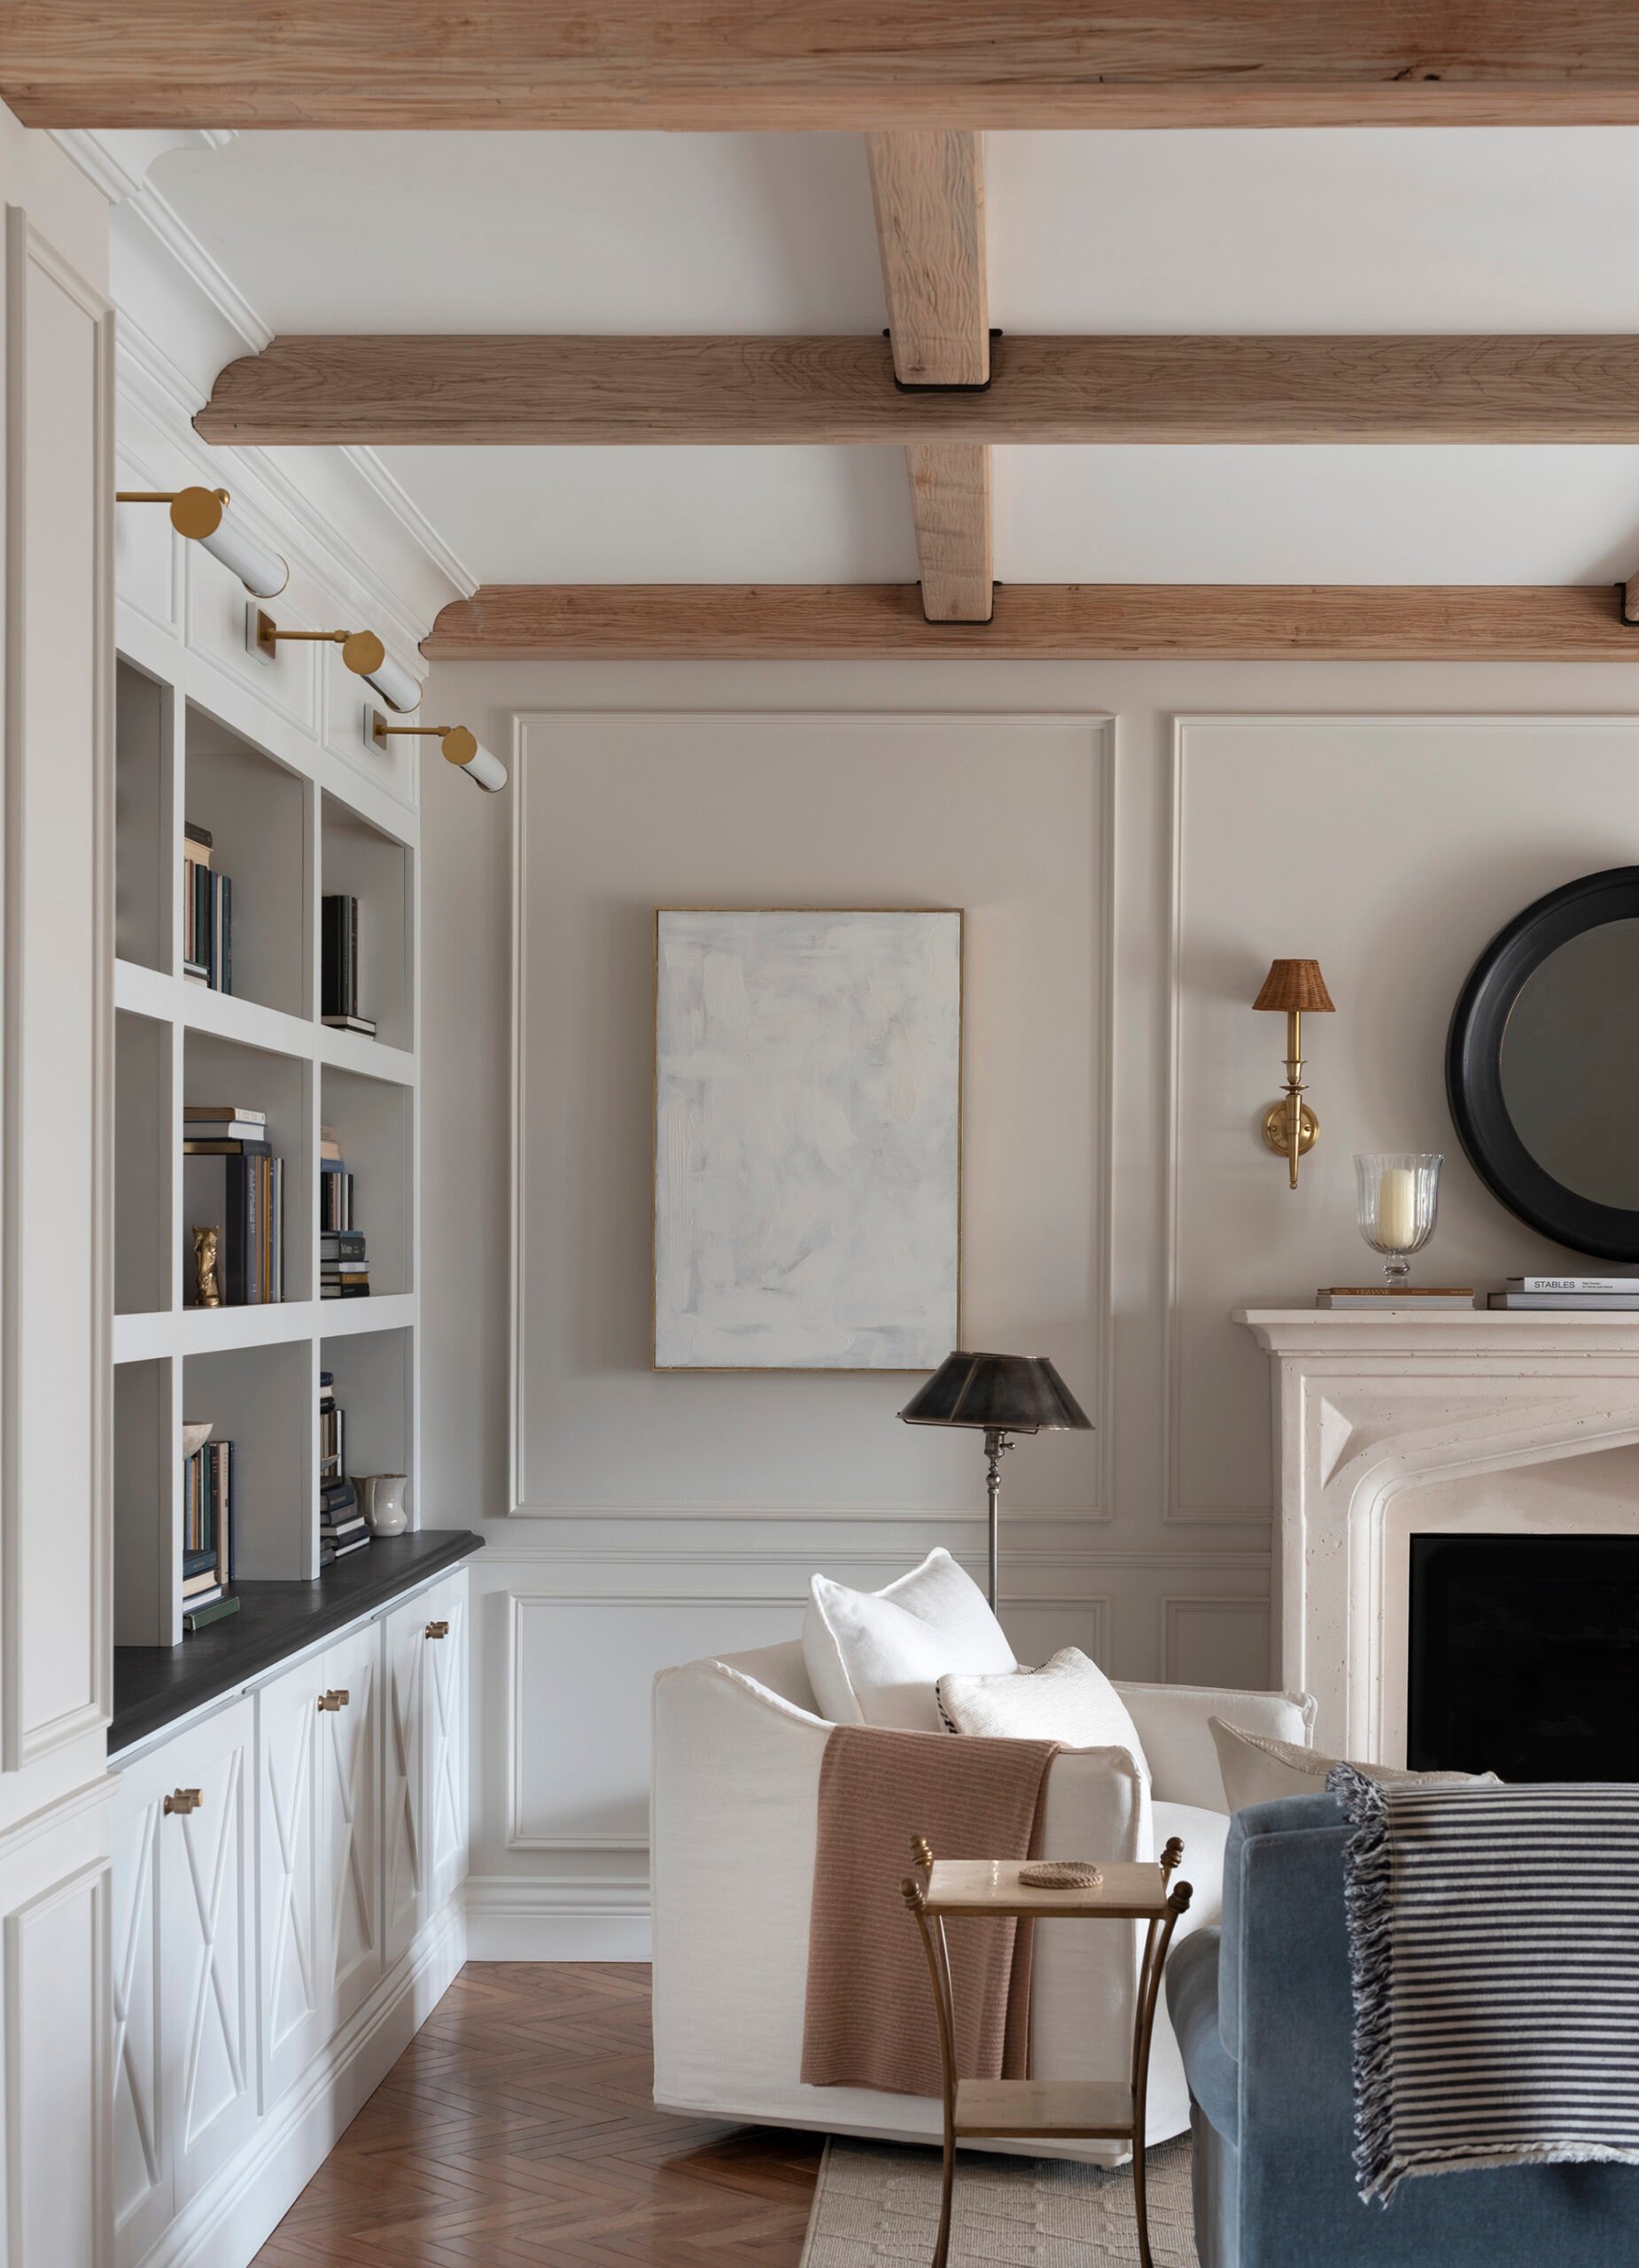
In short, panel moulding is decorative trim that frames the wall (usually installed in a grid or rectangular shape), highlighting your architecture, and adding depth to your walls. It’s often used in addition to base, crown, wainscoting, etc… or it can stand alone in modern spaces. I think the look is pretty timeless, working well in both modern and traditional interiors.
Today, we’re diving into the details of panel moulding installation. Our goal is always to install professional looking millwork that will withstand the test of time- in terms of design and craftsmanship… no splitting seams or loads of caulk to hide mistakes. Let’s get to it!
Tools & Materials You’ll Need

This is what we use to install panel moulding. Panel moulding installation isn’t difficult. It’s just time consuming and requires patience. I actually classify this as a beginner DIY, so it’s definitely a fun project to add to your list! Gather the following tools and supplies:
- Panel moulding millwork
- Finishing nailer (with compressor)
- Wood glue
- Miter saw (or coping saw for more intricate cuts)
- Laser level (with tripod)
- Regular level
- Caulk (for filling any gaps)
- Filler
- Sanding block
- Miter clamp set
- Measuring tape
- Paint or wood stain
- Pencil (for marking)
Step-by-Step Guide to Installing Panel Moulding
This is how we install panel moulding in 10 easy (very detailed) steps… it’s our tried and true process- with plenty of close up images, if you’re a visual learner.
Step 1: Measure and Mark

Begin by measuring your wall. I typically create the design plan to scale on grid paper (or my computer) that includes measurements and an elevation. That’s not necessary, but it helps me visualize the plan. Next, Emmett & I will mark off the wall together, making adjustments as needed. I use the rule of thirds and aim for symmetry. I recommend creating a grid pattern, so plan out where you would like the panels to go. Then, use a laser level and pencil to mark your grid lines for precision.
Step 2: Cut the Moulding and Dry Fit

Once your grid lines are set, it’s time to cut the panel moulding. We prefer to cut multiples at a time, once we have precise measurements. Using a miter saw, cut the moulding at 45-degree angles for clean corners. Take your time here- accurate cuts make all the difference! Once you have your pieces cut, dry fitting them is very important to ensure your miters align and the length is accurate. First we test the vertical pieces…

Then we test the horizontal pieces, and make sure they fit together nicely. If all of the pieces are accurate, aligned, and working well- move onto the next step!

Step 3: Attach the Moulding
Apply a small amount of wood glue to the back of each piece of moulding, then place it on the wall along your marked lines. We always begin by installing the top piece of the rectangle first. Even though we have the laser level set up, we double check with our handheld level… this also happens to be the same amount of spacing I sketched between the top of the panel moulding and the chair rail, so it comes in handy for measuring negative space, too!

Secure it with finishing nails, making sure the moulding sits flush against the wall. We use a nail gun to affix each piece of trim, but a hammer and nails will also work.

Step 4: Glue Edges and Miter Clamp
Next, dab a bit of glue onto the unfinished miter corner of the vertical piece…

Align it and secure the corner miter using a miter clamp. It’s ok if a little glue squeezes out… we’ll clean this up later!

Step 5: Nail the Vertical Piece in Place
Once your miter clamp is set, use the finishing nailer to secure it to the wall.

Contrary to popular belief… you do NOT have to nail panel moulding into a stud. However, to ensure it stays put, with your finishing nailer- drive a nail in from opposing directions. Check out the examples below…

In the above image, Emmett is driving a nail from the top downward into the piece of panel moulding. In the below image, you’ll notice he is driving the nail from the bottom upward into the panel moulding. These two nails are placed about an inch apart. This nail placement will lock the piece into place to create a secure, permanent set (since we’re not nailing into a stud).

Step 6: Repeat On Three Sides
Repeat the process until three sides of your rectangle have been installed. When you get to the lower horizontal section- only nail HALF of it. The section in between Emmett’s fingers (pictured below), has not been nailed and secured yet, because this will allow us literal “wiggle room” to create a tight miter.

Step 7: Install the Last Piece
Next, move onto the last vertical piece, securing it with glue and a miter clamp. Then add the remaining finishing nails. This includes the other half of the lower, horizontal piece. Once the entire rectangle has been secured with glue, miter clamps, and nails, move onto the next step.

Step 8: Wipe Excess Glue
Next, wipe any excess glue that squeezed out after clamping the miters. It is much easier to wipe and remove wet glue than it is to sand dried glue after it has cured. Once it’s cleaned up, allow the glue to cure before moving onto the next step.

Step 9: Fill Nail Holes and Sand
Pictured below, is our favorite filler for millwork. We’ve tried a LOT and this stuff is the best. Fill the tiny nail holes, making sure you have excess to sand for a smooth look (more is better than too little at this stage).

Once the filler has set, it’s time to sand the profile smooth. We’ve found sanding blocks make this step quick and easy.

Step 10: Caulk and Paint
After you’ve sanded the millwork, caulk the edges to make it look custom and finished. Once the caulk has completely set, then you can move onto painting. Be sure to use a nice paintbrush with a good self leveling paint to eliminate brush marks.

FAQ
Yes, but I recommend sanding or smoothing the wall surface first to ensure a clean and secure fit. Check out this post for our skim coating tutorial on how to get perfectly smooth walls. If you have a slightly textured wall, consider applying adhesive in addition to nails for extra stability.
Keep your panel moulding dust-free by wiping it down with a soft cloth. If it gets scuffed or dinged, touch it up with the same paint to keep it looking fresh.
Panel moulding is totally DIY-able with the right tools and a little patience. If you’re comfortable with cutting and installing trim, go for it! But if you’re unsure about the measurements or cuts, it could be worth consulting a pro.
Sometimes I choose to paint it the same color as the wall for a monochromatic look, while other times a little contrast is nice! You can even wallpaper inside the panel. It totally depends on the aesthetic you’re trying to achieve.

Home Improvement Related Posts
If you’re looking for more home improvement and millwork ideas to elevate your home, check out some of these reader favorites…
- How to Order & Replace An Interior Door
- How to Install a Ceiling Medallion
- How to Tile a Backsplash the Easy Way Using Mussel Bound
- Designer Guide for Choosing the Best Paint Sheen or Finish
- How to Paint a Door
- How to Replace & Upgrade Your Cabinet Doors
- Cabinetry Hardware Placement Guide (With Easy Examples)
- How to Easily Tile Over an Existing Concrete Patio
- Designer Tips for Making Outlets & Light Switch Plates Look Better

I hope this detailed tutorial was helpful! If you have any questions at all, please leave them for me in the comment section below. This is a quick project that has the ability to totally transform a room. I’ve actually been noticing more people attempting panel moulding projects and I’m always happy to see when they tag me. This is what works well for us, gives a professional end result, and withstands the test of time. Let me know if you give it a try!
The post How to Install Panel Moulding: A Step-by-Step Guide appeared first on Room For Tuesday.