Do you have an outdated bathtub? Maybe it’s yellowed, chipped, or scuffed with age… or perhaps it’s a vintage pastel color? Many old bathtubs are beautiful and functional, but their finish has seen better days. I’m no newbie when it comes to bathtub refinishing. The first time I experienced the miracle of tub resurfacing was for a historic show home. I was designing the bathroom and needed to update the cast iron tub on a budget. Since then, I’ve been recommending it to family, friends, and clients. Refinishing or reglazing a tub is a great way to save money, breathe life into vintage bathtubs, and get a high-end look in the bathroom. I will say this… it’s not something I would ever try to DIY. If you want it to last and look the best, hire a professional. It’s well worth it! Click through for a detailed look at the process, to determine if your tub is a good candidate, designer tips, the overall cost, as well as before & after images! I’m sharing the complete bathroom refinishing process for reglazing a tub white.
My goal is always to design a bathroom using classic bathroom plumbing fixtures that will withstand the test of time. If you opt for a timeless form and a quality material, your bathtub can always be refinished down the road, if necessary. Let’s dive in!
Is Your Bathtub Ideal for Refinishing?
Before I jump into the process, a lot of people wonder if their old (or new) tub is a good fit for refinishing. There are a few things I always ask prior to making the decision to resurface or replace…

- Is the bathtub original to the home? Odds are, if the tub is original it’s probably made of a quality great material and is super heavy (think cast iron). They really don’t make them like they used to. Resurfacing is ideal for tubs that need minor repairs (cracks & chips), have yellowed, or colored tubs you’d like to update. Even if your bathtub isn’t original, it can still be resurfaced.
- What is the shape of the bathtub? This one is super important! Depending on the year your home was built, your original tub might have a funky, dated shape. If that’s the case- it’s probably in your best interest to replace it. I prefer a minimal, basic shape (roundup below)… no weird shell decorations or crazy indentations. There are lots of beautiful antique & vintage tubs floating around, but there are also lots of bad ones from the 80’s & 90’s.
- Has your bathtub been resurfaced in the past? If you’re not certain, have a resurfacing professional come take a look. They can immediately tell you if it has been refinished. If it has- extra prep work is necessary and the cost will be about double. Why? Because they have to sand and strip the previous coating. It certainly factors into the budget and a replacement might be less expensive. Just do your research!
- Is your bathtub an odd or standard size? Like many original plumbing fixtures, things have progressed over the years. A standard size in the 1930s obviously isn’t the norm today. If your tub is an odd size or original to the space, it may be very difficult and expensive to replace! Be sure to measure and do the math beforehand. This is where resurfacing is an especially great, cost effective option.
- Is traction or a non slip bottom important to you? Resurfacing has the look and feel of porcelain… which is super smooth and glossy. That basically means unlike new bathtubs, you won’t have traction technology underfoot. I actually prefer tubs without traction strips or bevels because I feel like they get dirty easily and can look weird… but if you have kids- it might be a good idea. There are also after market products that can help with this.

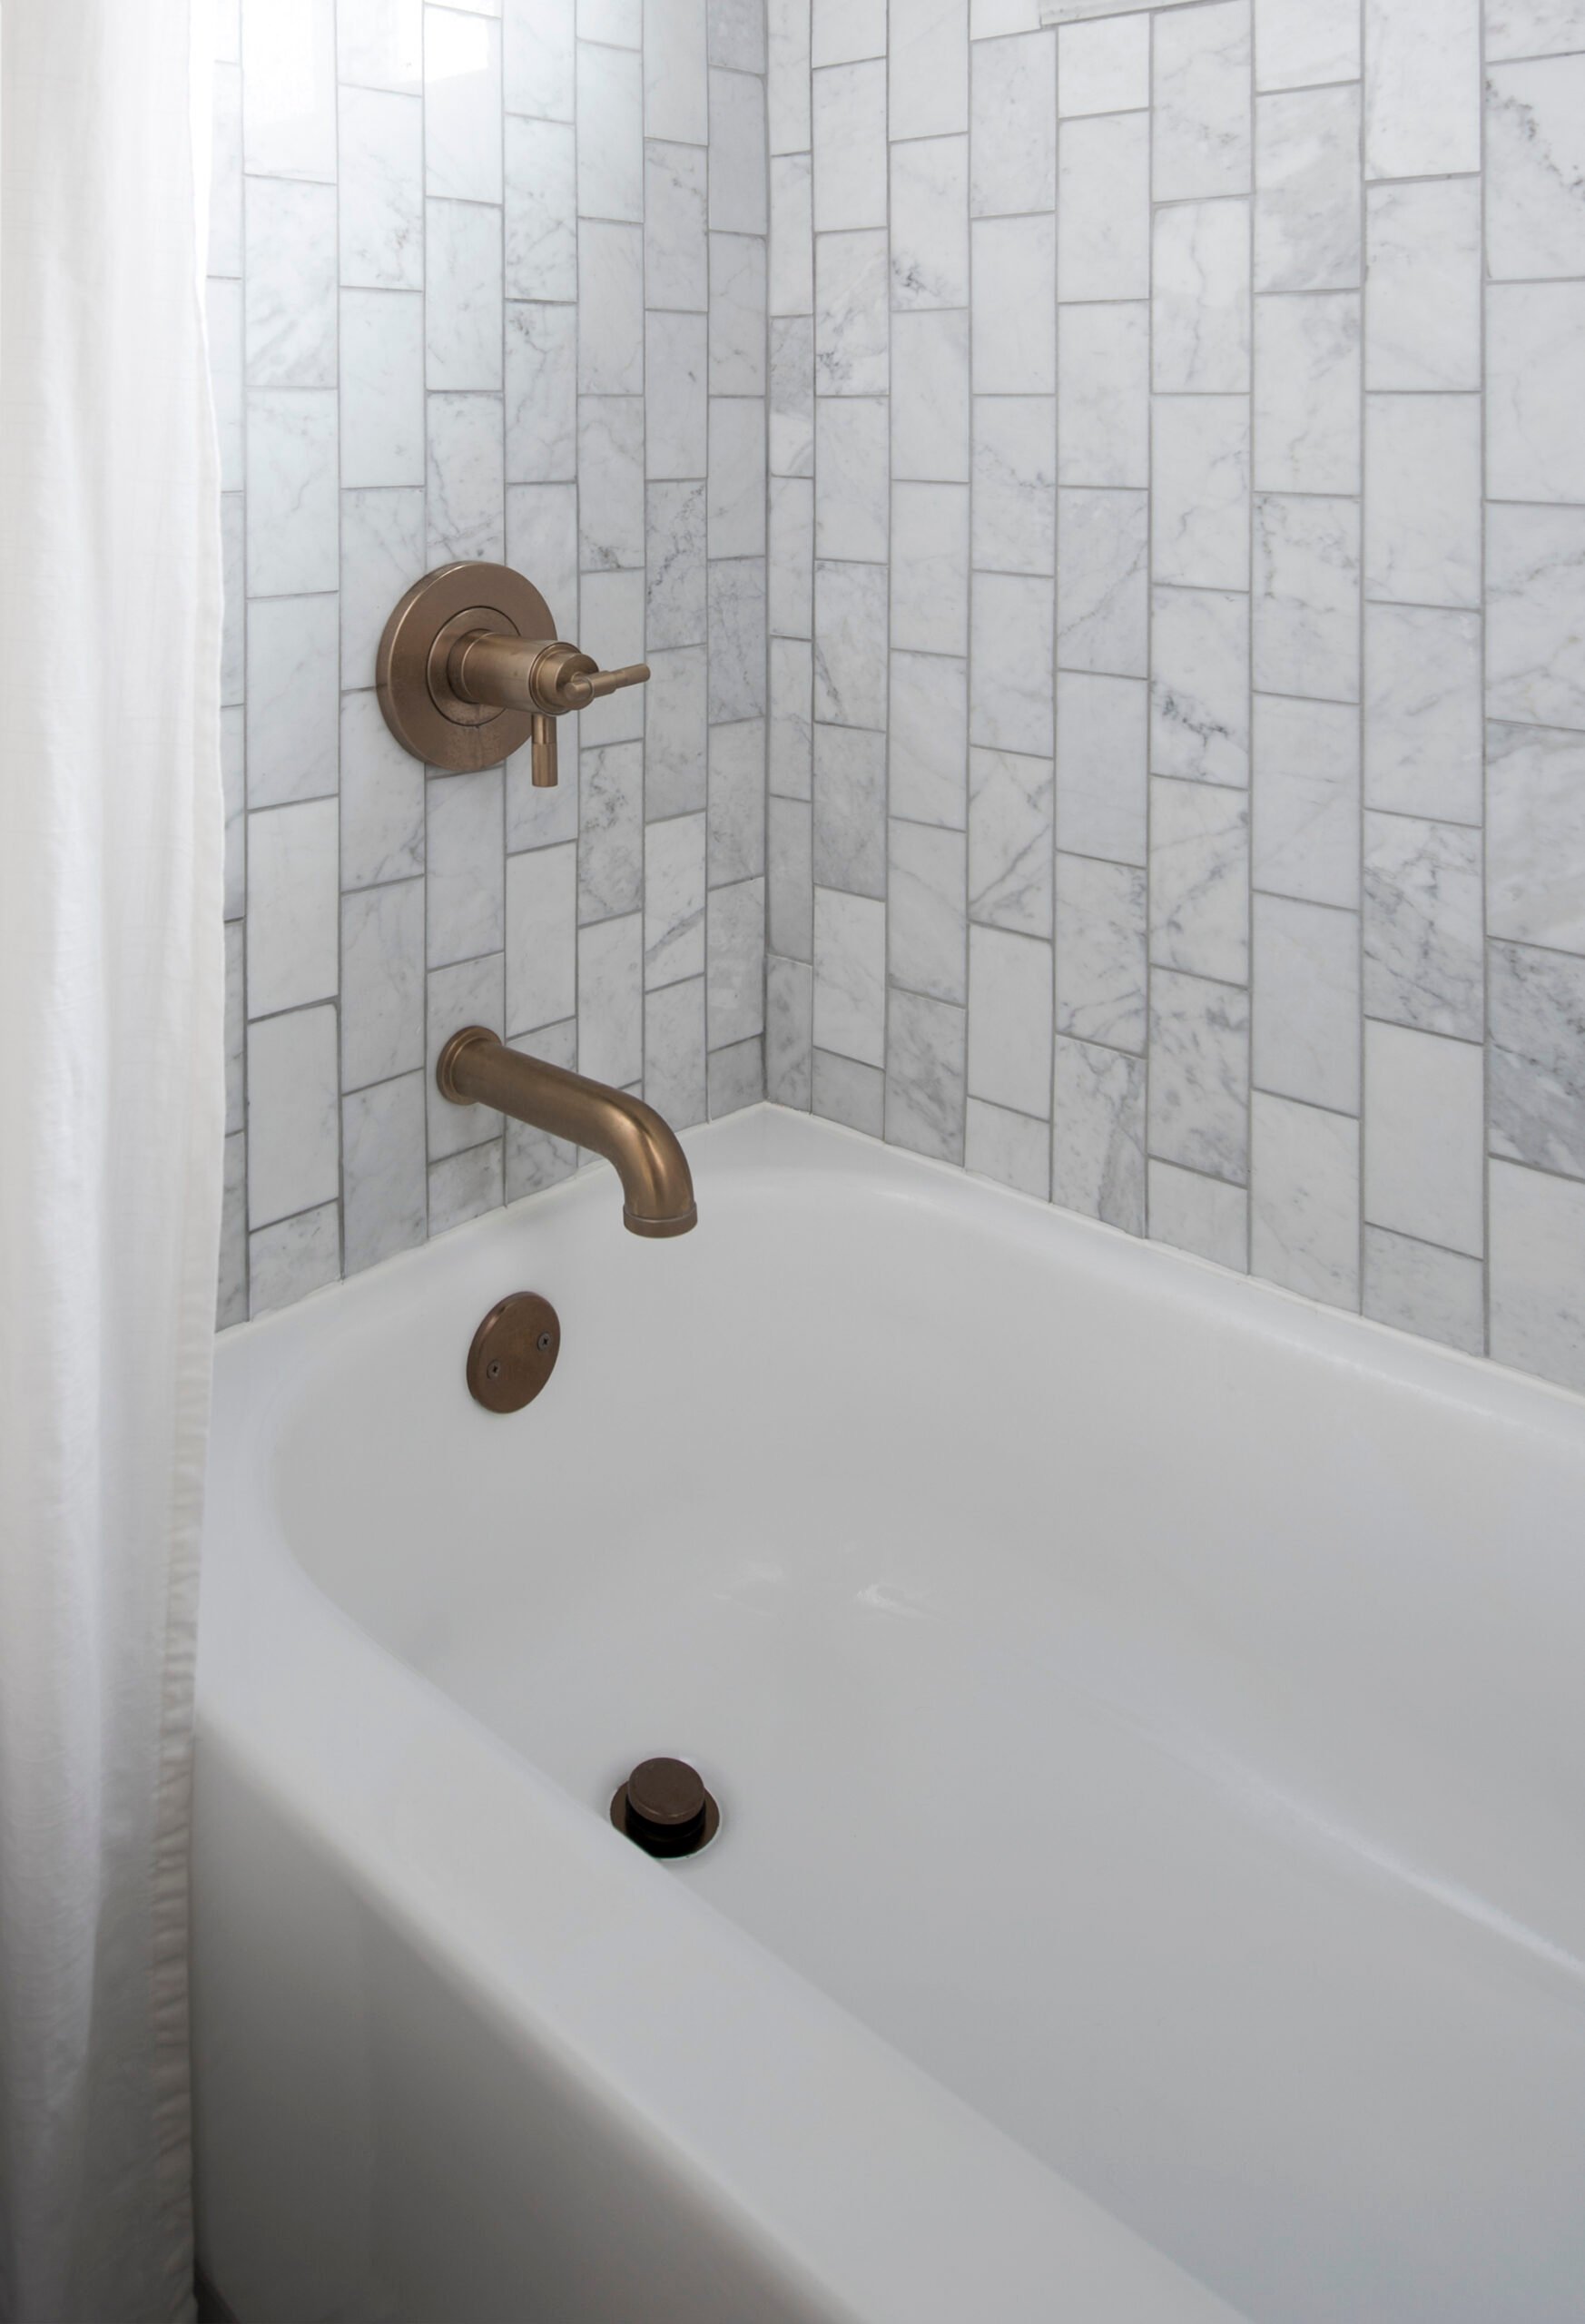
Our bathtub was in pretty good shape, was made of cast iron, it had not previously be refinished, and fit our previous bathroom perfectly. We decided to have it refinished because it had two large scuffs (pictured above) or chips in it, as well as some minor cracking. This is the exact process and cost, so you know just what to expect when resurfacing in your own bathroom! The entire process takes two days, so plan ahead.
The Difference Between Refinishing, Reglazing, and Resurfacing

The terms refinishing, reglazing, and resurfacing are often used interchangeably. They just refer to different steps within the overall process of refinishing… reglazing and resurfacing are part of the process. However, industry professionals use all of these terms, so if you request any of the three- professionals will know what you mean and it’s essentially one and the same. You can refinish many different bathroom surfaces- including cast iron, porcelain, acrylic, and more.
Should You Hire a Pro or DIY?

I highly recommend hiring someone for professional bathtub refinishing. It’s the best option and easiest way to update your existing tub for best results… especially in terms of durability and aesthetics. Professional refinishing really is an art and the DIY kits can’t compare to professional grade products. While a DIY bathtub update may sound appealing, I’ve seen too many failed attempts that end up costing more money in the long run. Just remember, this is a cost-effective way to update your bathroom for the long haul. Let’s dive into the whole process…
The Refinishing Process
Day One: Prep & Bathtub Reglazing
First, the contractor will cut out and remove any caulking around your tub. Luckily, we had just retiled and knew our bathtub needed to be resurfaced, so we didn’t caulk beforehand. It saved our contractor a step, which he was definitely happy about. Next, he prepped the bathtub by cleaning the entire tub really well with an abrasive cleaner followed by the first coat of etching powder. It was a two-step washing process that removes any debris, soap scum, dirt, and grime.

From there, he had to repair the dents, small cracks, and scuffs (shown above). He added a filling material to those specific areas. It started as a dark green color and while he waited for it to cure, he began masking off the bathroom.

The masking at this point in the process was to prevent dust, because once the dark green color had turned to a pale green (and fully cured), it needed to be sanded smooth.

The contractor resumed masking everything off with painter’s tape and plastic (drain, overflow, our entire bathroom, etc), then he applied a bonding agent. Once the bonding agent had set, he sprayed on a couple layers of primer. After the primer, he applied the topcoat- followed by a second coat. The work on day one took 3-4 hours.

Mitigating Fumes
During the spraying process, a fan was vented out a duct to the nearest window. In hindsight, I would not have picked a cold day to do this. It was 30 degrees outside and I didn’t realize the window would need to stay open. I highly recommend venting your entire house for this process. Turn on the exhaust fan, open windows, and ensure you have a well-ventilated space because the toxic fumes are very strong.

Once day one was complete, I tried to close the door and seal off the bathroom as best as possible. Even with proper ventilation and a sealed space, the strong smell lingered. As soon as you opened the door to our home, you could instantly smell fumes. I suppose the best way to describe the smell would be comparable to a super strong enamel or paint smell. It was tolerable, but much worse than I expected. I know it comes with the territory and can’t really be avoided. All of this to say- vent the area, plan ahead, or even sleep somewhere else (if possible) for a couple days during this process. I suffered through a bad headache from the fumes.

Day Two: Sanding, Buffing, & Polishing
Day two was a much shorter process. After allowing the bathtub to dry for 24 hours, the contractor came back to wet sand the tub, as well as to buff and polish it. The masking materials were removed and we were able to use the bathtub five to six hours after he left.

Watching the buffing and polishing process was mesmerizingl. It completely smoothed the bathtub surface, leaving a high, glossy shine. Once that is complete, the final step is caulking everything around the bathtub to seal any joints.

By the second day, the smell had dissipated… or maybe I was just growing used to it. Either way, we were left with a perfectly smooth, bright white bath tub.
End Result & Proper Care
Instead of purchasing a new tub, this was 100% worth it- and definitely less expensive than replacing the bathtub altogether. We also received a 5-year warranty, so if anything is scratched or scuffed, they’ll come take care of it free of charge. Our total cost was just shy of $500. I do know the price varies depending on the company, but we read tons of reviews and opted for a high-end company who used premium, longer lasting materials. Getting a durable finish was my top priority.

Going into the process for the first time, there were a few things I wasn’t aware of that I thought might be helpful for you:
- You can have your bathtub resurfaced in different colors! Obviously white and ivory are the most common, but there are lots of custom possibilities.
- The texture is completely smooth (not grainy or bumpy).
- It looks exactly like glossy porcelain.
- You don’t have to remove anything or uninstall plumbing fixtures in your bathroom. They literally mask off every single thing.
- You can pretty much resurface anything (vintage sinks, countertops, tubs, etc).

As far as maintenance goes, there are some dos and don’t when it comes to cleaning. I was advised not to use super harsh cleaners (containing bleach or chlorine) or abrasive tools (steel wool, wire brushes, etc). They recommend using any liquid organic or green cleanser- or the following “soft” cleaners: 409, Scrubbing Bubbles, or Fantastic. If you take appropriate care of the bathtub, it’s incredibly durable and will last up to 15 years!

If your bathtub falls into the category of needing to be replaced… you can find some of my favorite new bathtub options below.
Classic White Bathtubs
Click directly on each bathtub within the collage to be directed to the source!

FAQ
You sure can. Vintage pedestal sinks are another popular choice for this treatment.
It cost us $475, but that wasn’t the least expensive estimate we received. It was well worth it and still cost less than replacing the tub altogether. Refinishing ranges anywhere from $300-$700, depending on the size and project difficulty.
Honestly, that was the worst part of the process. The smell lasted 2-3 days. If possible, I’d recommend moving out or to another level of your home. If sleeping somewhere else is an option, that would be a good time to let your house air out. Otherwise, lots of ventilation… fans, open windows, flip on the exhaust, etc. Your refinishing contractor will do the best they can with a vacuum as well (pictured below).

Related
Looking for more bathroom and bath renovation related posts? I’m going to link some of my favorites for you below…
- Ways to Customize a Readymade Bathroom Vanity
- Classic Bathroom Plumbing Fixtures from Wayfair
- Honing Our Guest Bathroom Nero Marble Countertops
- How to Save Money and Shop Stone Remnants in a Slab Yard
- The Best Classic White Bath Towels for Any Budget (Tested & Approved)
- How to Make Subway Tile Look Classic, Not Basic
- Tips for Layering Lighting Like a Designer
- How to Wash Towels Back to White with Laundry Stripping
- Tips for Making a Cold Bathroom Feel Cozy
- DIY Bath Caddy Tray

What do you think? Do you have any questions for me? Have you had a bathtub resurfaced before or is it something you’d try? I thought a peek into the process would be helpful! This felt like a great option for our previous bathroom. I definitely would have made the same choice again. I can’t believe we were tackling this bathroom renovation nine years ago! It feels much more recent. Our one-and-only tiny bathroom in our previous home sure was a workhorse.
The post Bathtub Refinishing Process & Reglazing A Tub White appeared first on Room For Tuesday.

