There are moments in life when you suddenly feel like a real adult. Like when you buy your first car, or take that car for its first oil change. When you open a savings account, or purchase your first washer and dryer. Or like when you finally learn how to fold a fitted sheet properly.
Once you learn the easiest way to fold a fitted sheet, your linen closets will never be the same.
The best part? This technique becomes second nature after just a few tries and only has a few easy steps. Let me walk you through exactly how to fold fitted sheets so they look as neat as your flat sheets.
Why Folding Fitted Sheets Feels Impossible
If you’ve ever wrestled with a fitted sheet and given up in frustration, you’re not alone. There’s a very real reason why folding fitted sheets feels so much harder than folding regular sheets, those elastic corners.
The stretchy edges and rounded corners that make fitted sheets hug your mattress perfectly are the same features that make traditional folding techniques completely useless.
You can’t simply fold a fitted sheet in half like you would a flat sheet because those elastic edges create bulk and rounded shapes that refuse to cooperate.
Most people resort to balling up their fitted sheets and shoving them in the linen closet and leaving the closet an absolute mess.
It’s not laziness. It’s just that no one ever showed us an actual method that works. The elastic creates resistance, the corners bunch up and creases awkwardly, and before you know it, you’ve got what looks like a fabric burrito instead of a neatly folded sheet.
But here’s the good news: there’s a specific corner-tucking technique that makes folding fitted sheets genuinely easy.
Once you understand how to nest the corners properly, the process takes less than two minutes. The trick is working with the elastic corners instead of fighting against them.
What You Need to Fold a Fitted Sheet
One of the best things about this method is how simple it is. You don’t need any special tools or equipment, just:
- A clean, dry fitted sheet
- Your hands
- A flat surface (optional but helpful for the final folds)
That’s it!
No clips, no fancy folding boards, nothing to buy. You can fold a fitted sheet standing up, sitting on your bed, at a table, or wherever feels most comfortable. The whole process takes just two to three minutes once you know the technique.
I recommend starting on a bed or large table for your first few attempts. Having that flat surface nearby makes it easier to lay the sheet down for the final folds. But honestly, once you’ve practiced a few times, you can do this anywhere.
The Easiest Method: How to Fold Fitted Sheets Step-by-Step
Ready to master this life-changing skill? I’m breaking down the easiest way to fold a fitted sheet into clear, manageable steps. Follow along with the video below, or use these written instructions—whichever works best for you!
Getting Your Starting Position
Start by holding your fitted sheet lengthwise—meaning the longer sides are stretched between your hands. Face toward a bed or table where you’ll eventually lay the sheet flat.
Place your hands inside the two top corners of the sheet with the elasticized edges facing you. The seams should be facing outward. This starting position is crucial because it sets you up for the corner-tucking magic that follows.
The First Corner Tuck
Now comes the key move that makes everything else work. While holding both top corners, bring your right hand over to meet your left hand. Tuck the right corner over and into the left corner. The elastic edges should now sit together neatly.
You’ll now have two corners resting on your left hand. Don’t worry if it feels a bit awkward at first—this is the trickiest part, and it gets easier with practice. Make sure those corners are properly nested together before moving on.
Finding the Bottom Corners
With the top two corners secured on your left hand, use your right hand to reach down and locate the two bottom corners of the sheet. Keep the top corners steady in your left hand as you work.
The fitted sheet will be hanging down, and you’re looking for where the elastic edges meet at the bottom two corners. These are easier to find if you gently shake the sheet to let them fall naturally.
Bringing All Corners Together
This is where it all comes together—literally! Bring the bottom right corner up to meet the top corners in your left hand. Tuck it into the other corners so all three are nested together.
Repeat this with the bottom left corner. Now, all four corners are tucked into one hand, and you should be holding what looks like a roughly rectangular piece of fabric with elastic edges, all nestled on one side.
Smoothing and Shaping
Give the sheet a gentle shake to release any bunched-up fabric. Smooth the material with your free hand, encouraging it to form a rectangular shape. The elastic edges should all be together on one side, and the rest of the sheet should hang fairly straight.
This shake-and-smooth step is more important than it seems. Taking a moment here to work out the wrinkles and get a nice shape makes the final folding much easier.
The Final Folds
Lay your sheet on your flat surface with the elastic edges facing the same direction. Smooth it out into the neatest rectangle you can manage. The elastic corners will create a bit of bulk on one end—that’s totally normal and fine.
Fold the sheet in thirds lengthwise to create a long, narrow rectangle. Then fold it in thirds or in half widthwise, depending on your storage space. You can adjust these final folds based on the size of your linen closet shelves.
The result? A neat, flat rectangle that looks like you actually know what you’re doing with laundry! Sure, it might not be quite as crisp as a flat sheet, but it’s a million times better than the crumpled ball you started with.
Pro Tips for Perfect Fitted Sheet Folding
Once you’ve got the basic technique down, these tips will help you fold fitted sheets even more efficiently and neatly.
Start with the long side. Holding the sheet lengthwise creates better balance and makes it easier to control as you’re tucking corners. If you start with the short side, the sheet feels heavier and more awkward to manipulate.
Use a flat surface for the final folds. While you can do the corner-tucking while standing, having a bed or table to lay the sheet on for those final folds creates much crisper, cleaner results. The difference is noticeable in how your sheets look in the closet.
Practice makes perfect. Your first attempt might feel clumsy, and that’s completely normal. By the third or fourth time, though, your hands will remember the movements and it’ll start feeling natural. I promise it clicks faster than you’d expect!
Smooth as you go. Don’t wait until the end to deal with wrinkles and bunched fabric. A quick smoothing motion after each corner tuck keeps everything neat and makes the final result much better.
The corners are everything. Getting all four corners properly nested together is what creates that neat rectangular shape. If your sheet doesn’t look right at the end, it’s usually because one corner didn’t get fully tucked in with the others. Don’t rush this part!
Match your sheet size to your folding style. King and queen fitted sheets are easier to fold on a bed, while twin sheets work fine folded at a table or even standing up. Adjust your approach based on what you’re working with.
What to Do If It’s Not Perfect
Let’s be real—your first folded fitted sheet probably won’t look Instagram-worthy, and that’s okay! Even an imperfect fold is dramatically better than the ball-of-fabric situation you had before.
The corners might stick out slightly, creating little lumps on one end of your folded sheet. This is normal because that’s where all the elastic is gathered. As long as your sheet is generally rectangular and reasonably flat, you’re doing great.
If your sheet is wrinkled, give it a quick smooth with your hands before the final folds. Or better yet, fold your sheets right out of the dryer when they’re still slightly warm—the heat helps them smooth out naturally.
If your first attempt looks terrible, just unfold it and try again! The beauty of this skill is that there’s no penalty for practice. Each time you do it, you’ll understand the technique a little better.
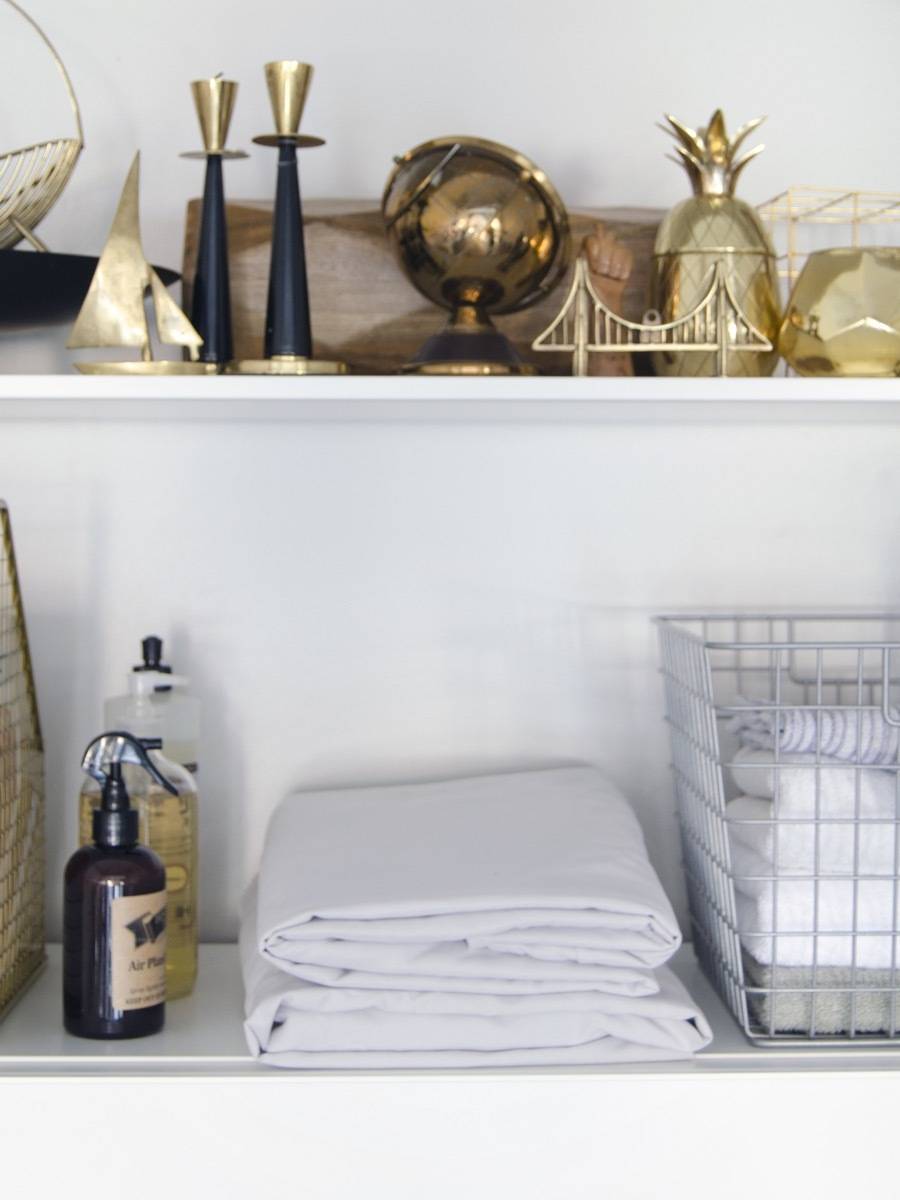
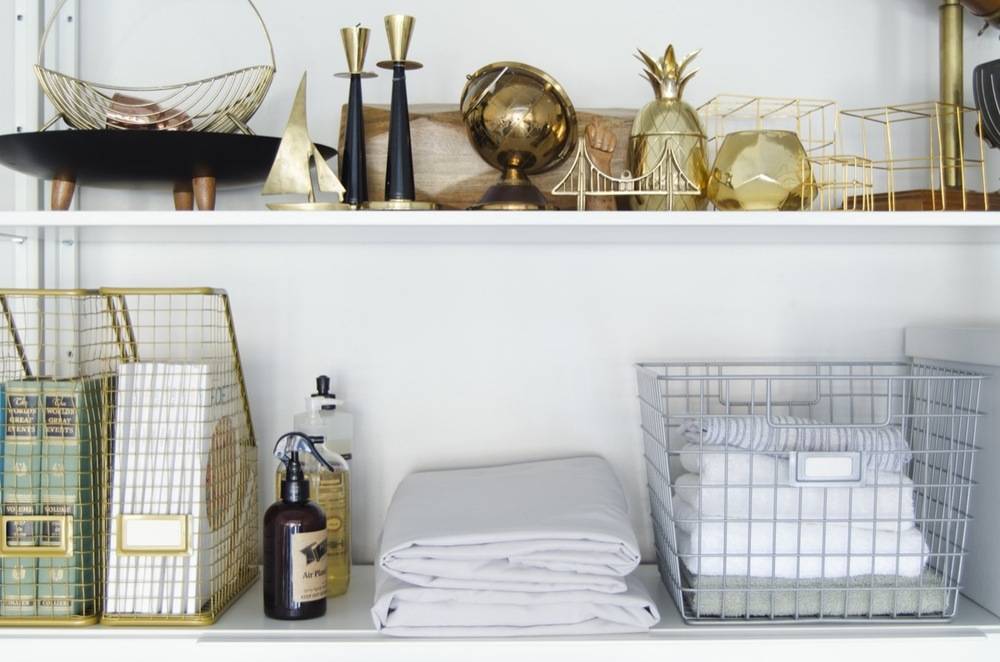
How to Store Your Beautifully Folded Fitted Sheets
Now that you can fold fitted sheets like a pro, let’s talk about how to store them so your linen closet stays organized and your sheets stay neat.
The game-changing trick? Store complete sheet sets together. Fold your fitted sheet, flat sheet, and pillowcases to similar sizes, then tuck everything inside one of the pillowcases. This creates a neat “bundle” that keeps sets together and makes it easy to grab what you need without disturbing other sheets.
Stack sheets by bed size on your linen closet shelves. Keep all your twin sheets together, all your queen sheets together, and so on. If you have multiple sets for each bed, rotate them to distribute wear evenly.
Consider using shelf dividers if you have lots of sheet sets. This prevents stacks from toppling and makes it easy to pull out a set without disturbing others. You can find simple wire dividers at any home store, or even use tension rods installed vertically.
Label your shelves if you have sheets for multiple beds in your home. A simple label like “Master Bed – Queen” or “Guest Room – Full” saves time when you’re making beds and ensures sheets end up back in the right spot.
Vertical storage can work well too, especially if you have deep shelves. Stand your folded sheet bundles on end like books. This makes it easy to see all your options at once and grab what you need without unstacking.
With properly folded fitted sheets, you’ll be amazed at how much more space you have in your linen closet. No more shoving crumpled sheets into overstuffed shelves!
Common Mistakes to Avoid When Folding Fitted Sheets
Even with the best instructions, there are a few common pitfalls that can trip you up. Here’s what to watch out for and how to fix these issues.
Trying to fold it like a flat sheet is the number one mistake. The elastic corners make this impossible, so you have to use the corner-tucking method. If you catch yourself attempting traditional folds, stop and start over with the proper technique.
Not getting all four corners together properly will leave you with a lumpy, misshapen result. Take your time with each corner tuck, making sure they’re fully nested before moving to the next one. This is the foundation of the whole method.
Rushing through the corner-tucking steps leads to corners that aren’t secure and sheets that unfold themselves. Slow down, especially while you’re learning. Speed comes naturally once you’ve mastered the technique.
Folding on a lumpy surface makes it hard to get clean, crisp final folds. Your bed can work, but make sure there aren’t any blankets or pillows creating bumps underneath. A clear table or dresser top is ideal.
Folding sheets when they’re slightly damp creates wrinkles and can even lead to mildew if they’re stored before fully drying. Always make sure your fitted sheets are completely dry before folding and storing them.
You’ve Got This!
Learning how to fold fitted sheets properly is one of those life skills that seems impossible until someone shows you the trick. Then suddenly, it’s so simple you wonder why it ever seemed hard! The corner-tucking method works because it embraces what makes fitted sheets unique—those elastic corners—rather than fighting against them.
After your first few attempts, this technique will become second nature. You won’t have to think through each step; your hands will just know what to do. And the payoff is worth it: an organized linen closet with neat stacks of sheets, more storage space, and the satisfying feeling of having conquered the fitted sheet challenge.
Remember, perfection isn’t the goal—progress is. Even if your folded fitted sheet isn’t magazine-worthy, it’s infinitely better than a crumpled ball shoved in the back of the closet. Give yourself grace during the learning process, and celebrate the fact that you now have this skill in your life-management toolkit.
Have you tried the corner-tucking method? What tips would you add for fellow fitted-sheet folders? Share your experiences in the comments below—we’d love to hear your success stories or any questions you have!
Looking for more design and organization ideas?
The post How to Fold a Fitted Sheet appeared first on Curbly.