Lighting happens to be one of my favorite things to source when it comes to interiors and home design. It can make your home feel cozy and intimate, or bright and inviting- all depending on how it’s layered. Lighting is one of those design elements that completely transforms a room. When I design lighting plans for clients (and my own home), I focus on balance, warmth, and function. Today, I’m sharing my 12 essential lighting design tips… these are practical, designer-approved ways to layer light fixtures throughout your home. I’m also including my go-to lighting resources. Believe me when I say, you’re going to want to pin this lighting post because it’s packed with LOTS of good info! Click through for all things lighting design, my best tips, a helpful FAQ, and of course- the resource list.
If you’ve got renovating, building, or home updates at the top of your to-do list, be sure to check out my post on how to design a cohesive home that flows room to room for more design ideas and tips. You can also find a giant curated collection in my shop, Tuesday Made! Let’s dive into some lighting rules…
12 Designer Lighting Tips
These are some basic rules designers always follow when creating a lighting plan. I wanted to share those with you, so you can decide what’s best for your home.

1. Start with a Lighting Plan
Before choosing fixtures, sketch a quick plan of each room. Just like a floor plan, this helps you visualize how the light will flow and it ensures the space is evenly lit. Consider how the room is used, too! A kitchen requires brighter lighting, while a living room benefits from warm, dimmable light. This easy exercise can also help you pinpoint where the light fixture should be positioned and what type you’ll need.
Designer tip: Every room should have three layers of light. I like to achieve this by using different types of fixtures (overhead, lamps, integrated millwork lighting, wall lighting, etc).
- Ambient: overall illumination (ceiling or recessed)
- Task: focused light for activities (lamps, pendants)
- Accent: decorative or highlight lighting (sconces, picture lights, toe kick lighting)

2. Budget for Lighting from the Start
Lighting shouldn’t be an afterthought… it’s the foundation for your space. Be sure to allocate funds for fixtures at the beginning of your renovation. I actually think it’s one of my top five areas in our home I’m willing to splurge on. You can also mix high and low fixtures for a budget-friendly approach. Make sure each space has enough lighting to illuminate the room for its given function.

3. Choose the Right Bulbs
Even the most beautiful fixture can be off-putting with the wrong bulb. After all, the function is to LIGHT a space. It’s important to buy the right bulb for brightness and temperature. The bulb alone can really influence a room for better or worse. Opt for warm white (2700K–3000K) for a soft, inviting glow. Pay attention to lumens (brightness) depending on the room’s needs. Check out this post for my designer trick for choosing the correct light temperature and bulbs!

4. Mix Fixture Types for Depth
I once went into a client’s home that was flush mount city (pre-renovation). Every single fixture in the home was a flush mount. A well-designed room includes a mix of fixtures: chandeliers, pendants, sconces, floor lamps, table lamps, picture lights, flush mounts, semi flush mounts, etc. Don’t limit yourself to one or two types of light fixtures. Each brings a different height, texture, and visual rhythm. This is how designers make rooms feel layered and dimensional.

5. Mix Metals Thoughtfully
Don’t be afraid to mix finishes- I often pair antique brass with polished nickel for timeless contrast. The key is cohesion… use the same finish within one category (all brass fixtures should be the same brass tone, for example). When in doubt, stick with one brand for consistency- brass tones can vary!

6. Disguise the Cords
Unless they’re hardwired or on a battery remote, light fixtures plug into an outlet and have a cord. Even the most intentional lighting plan can feel cluttered with messy cords. Check out this post for hiding cords for wall sconces and picture lights… I shared my tried and true method. Alternatively, you could also consider floor outlets… here is why I love floor outlets: designer tips & advantages. In situations where neither of those options are possible, use zip ties or velcro to neatly organize your cords, tucking them in an intentional way for a more tailored, thoughtful look.

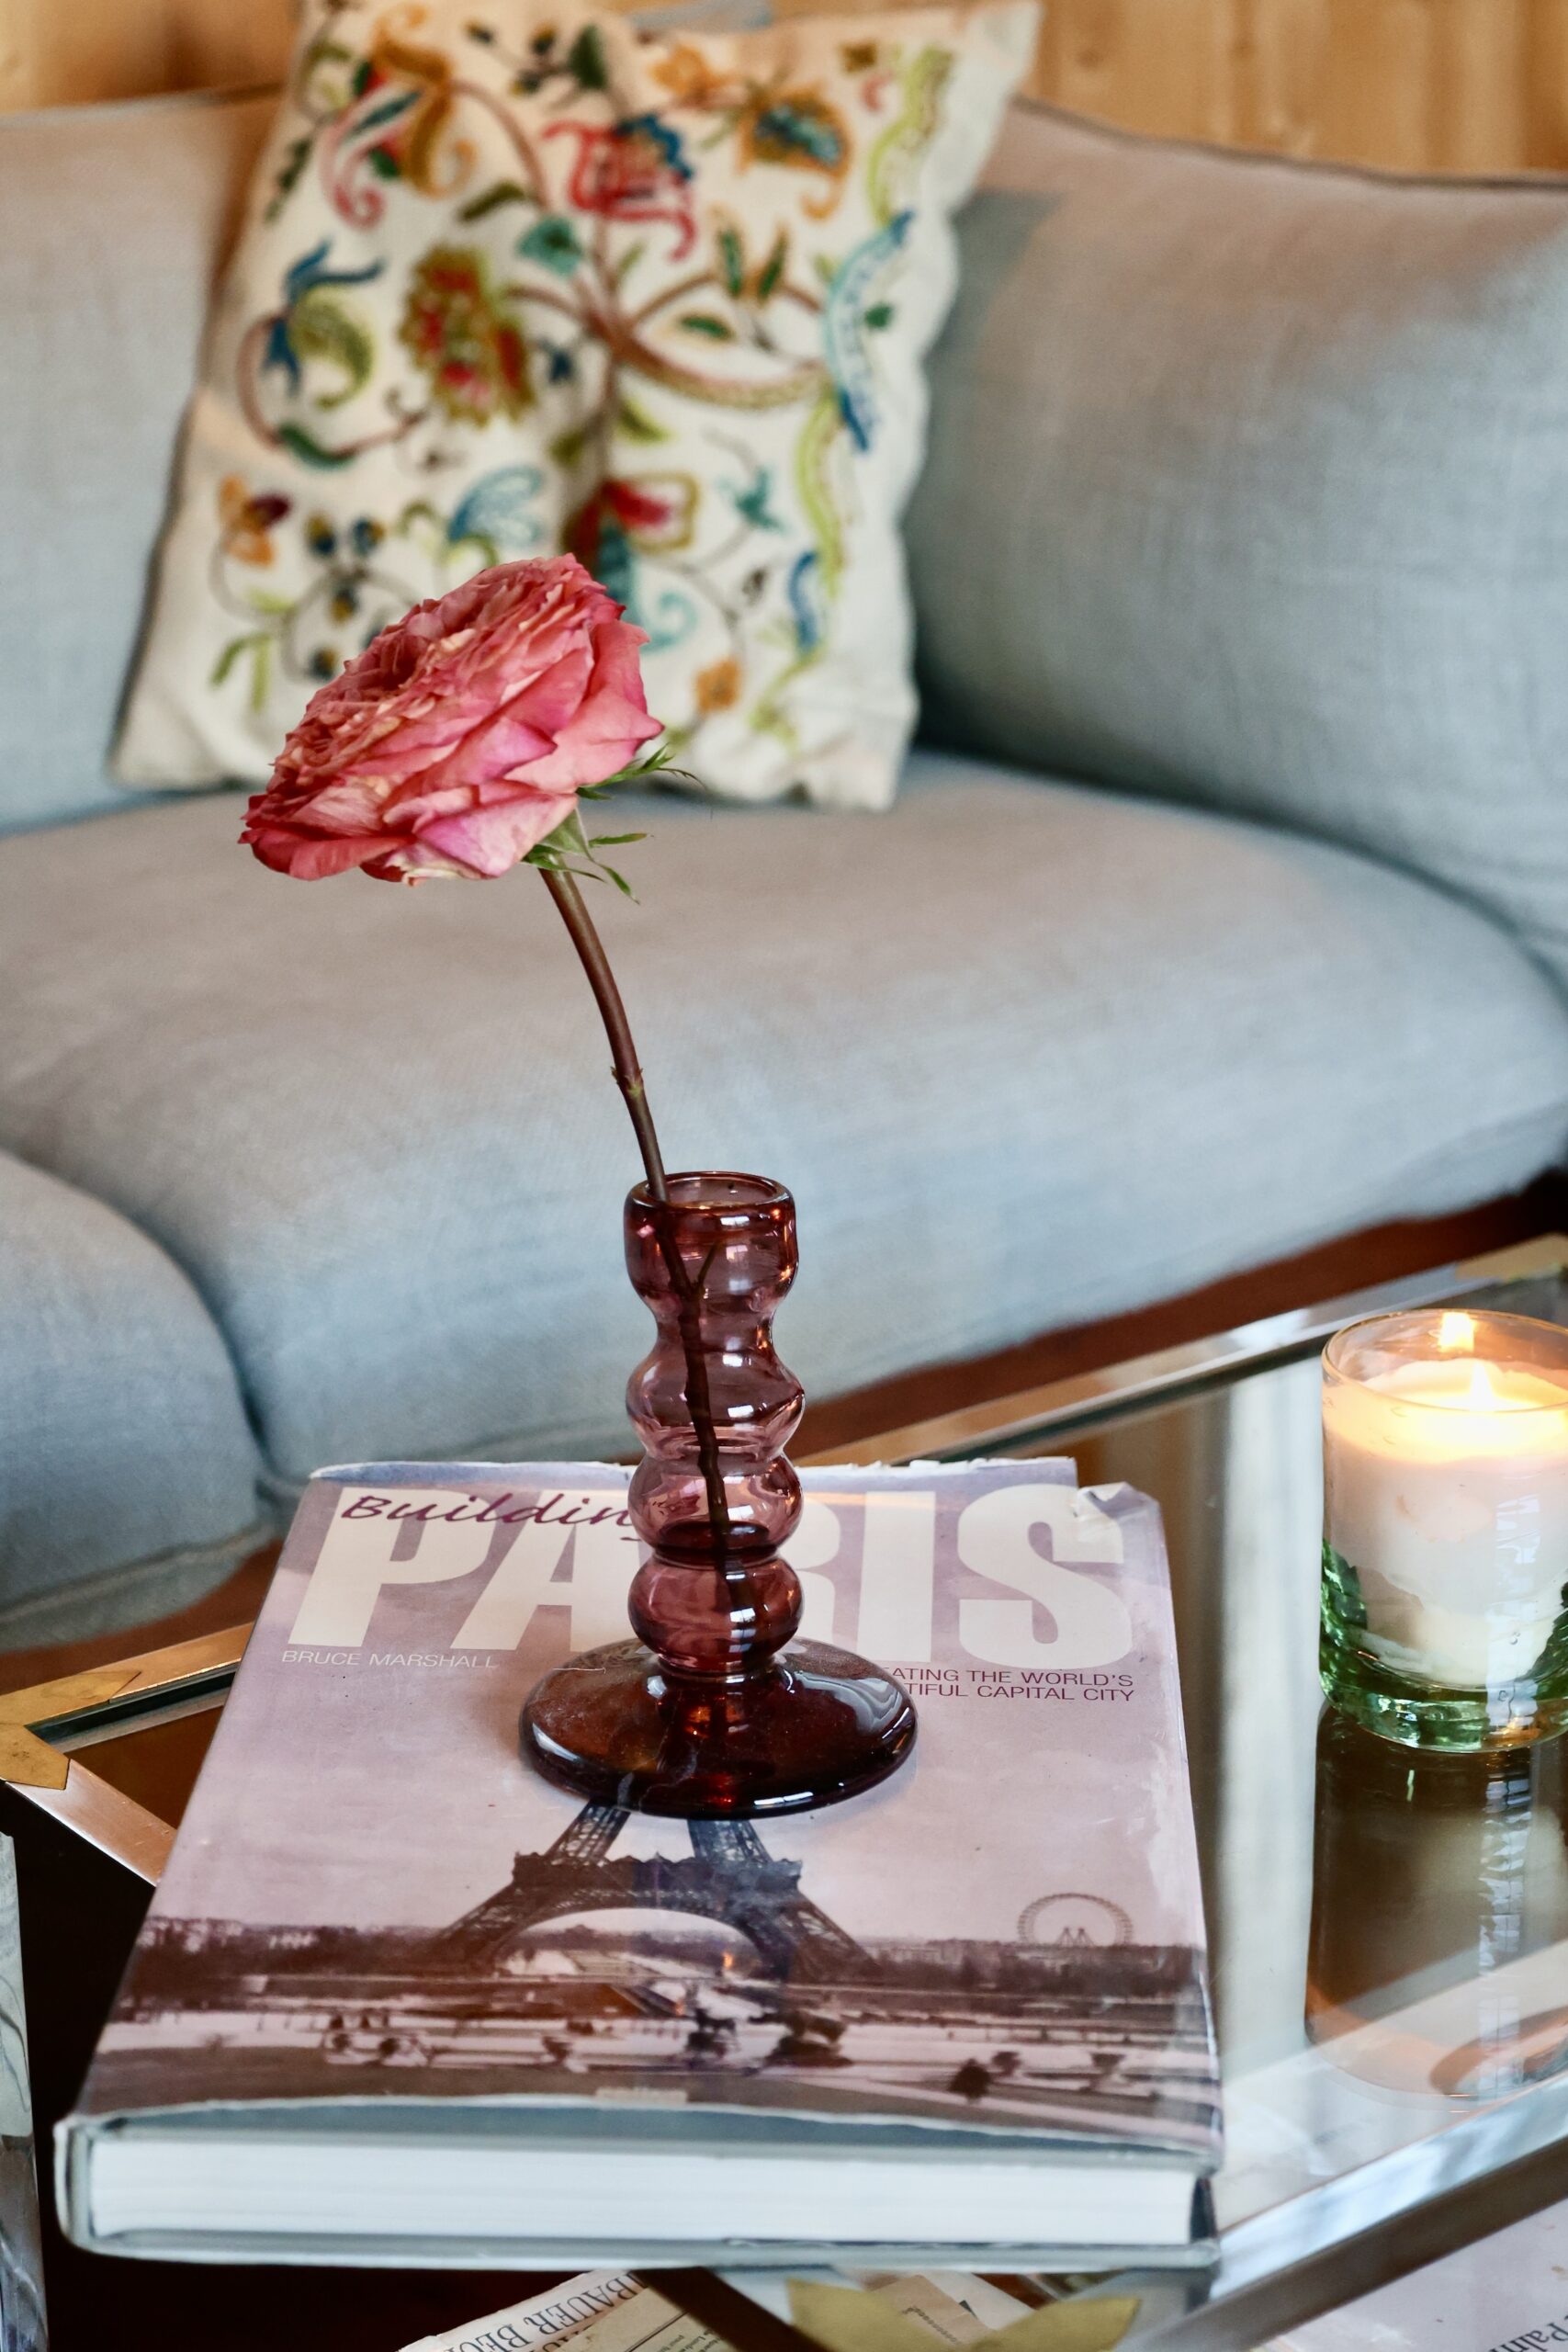
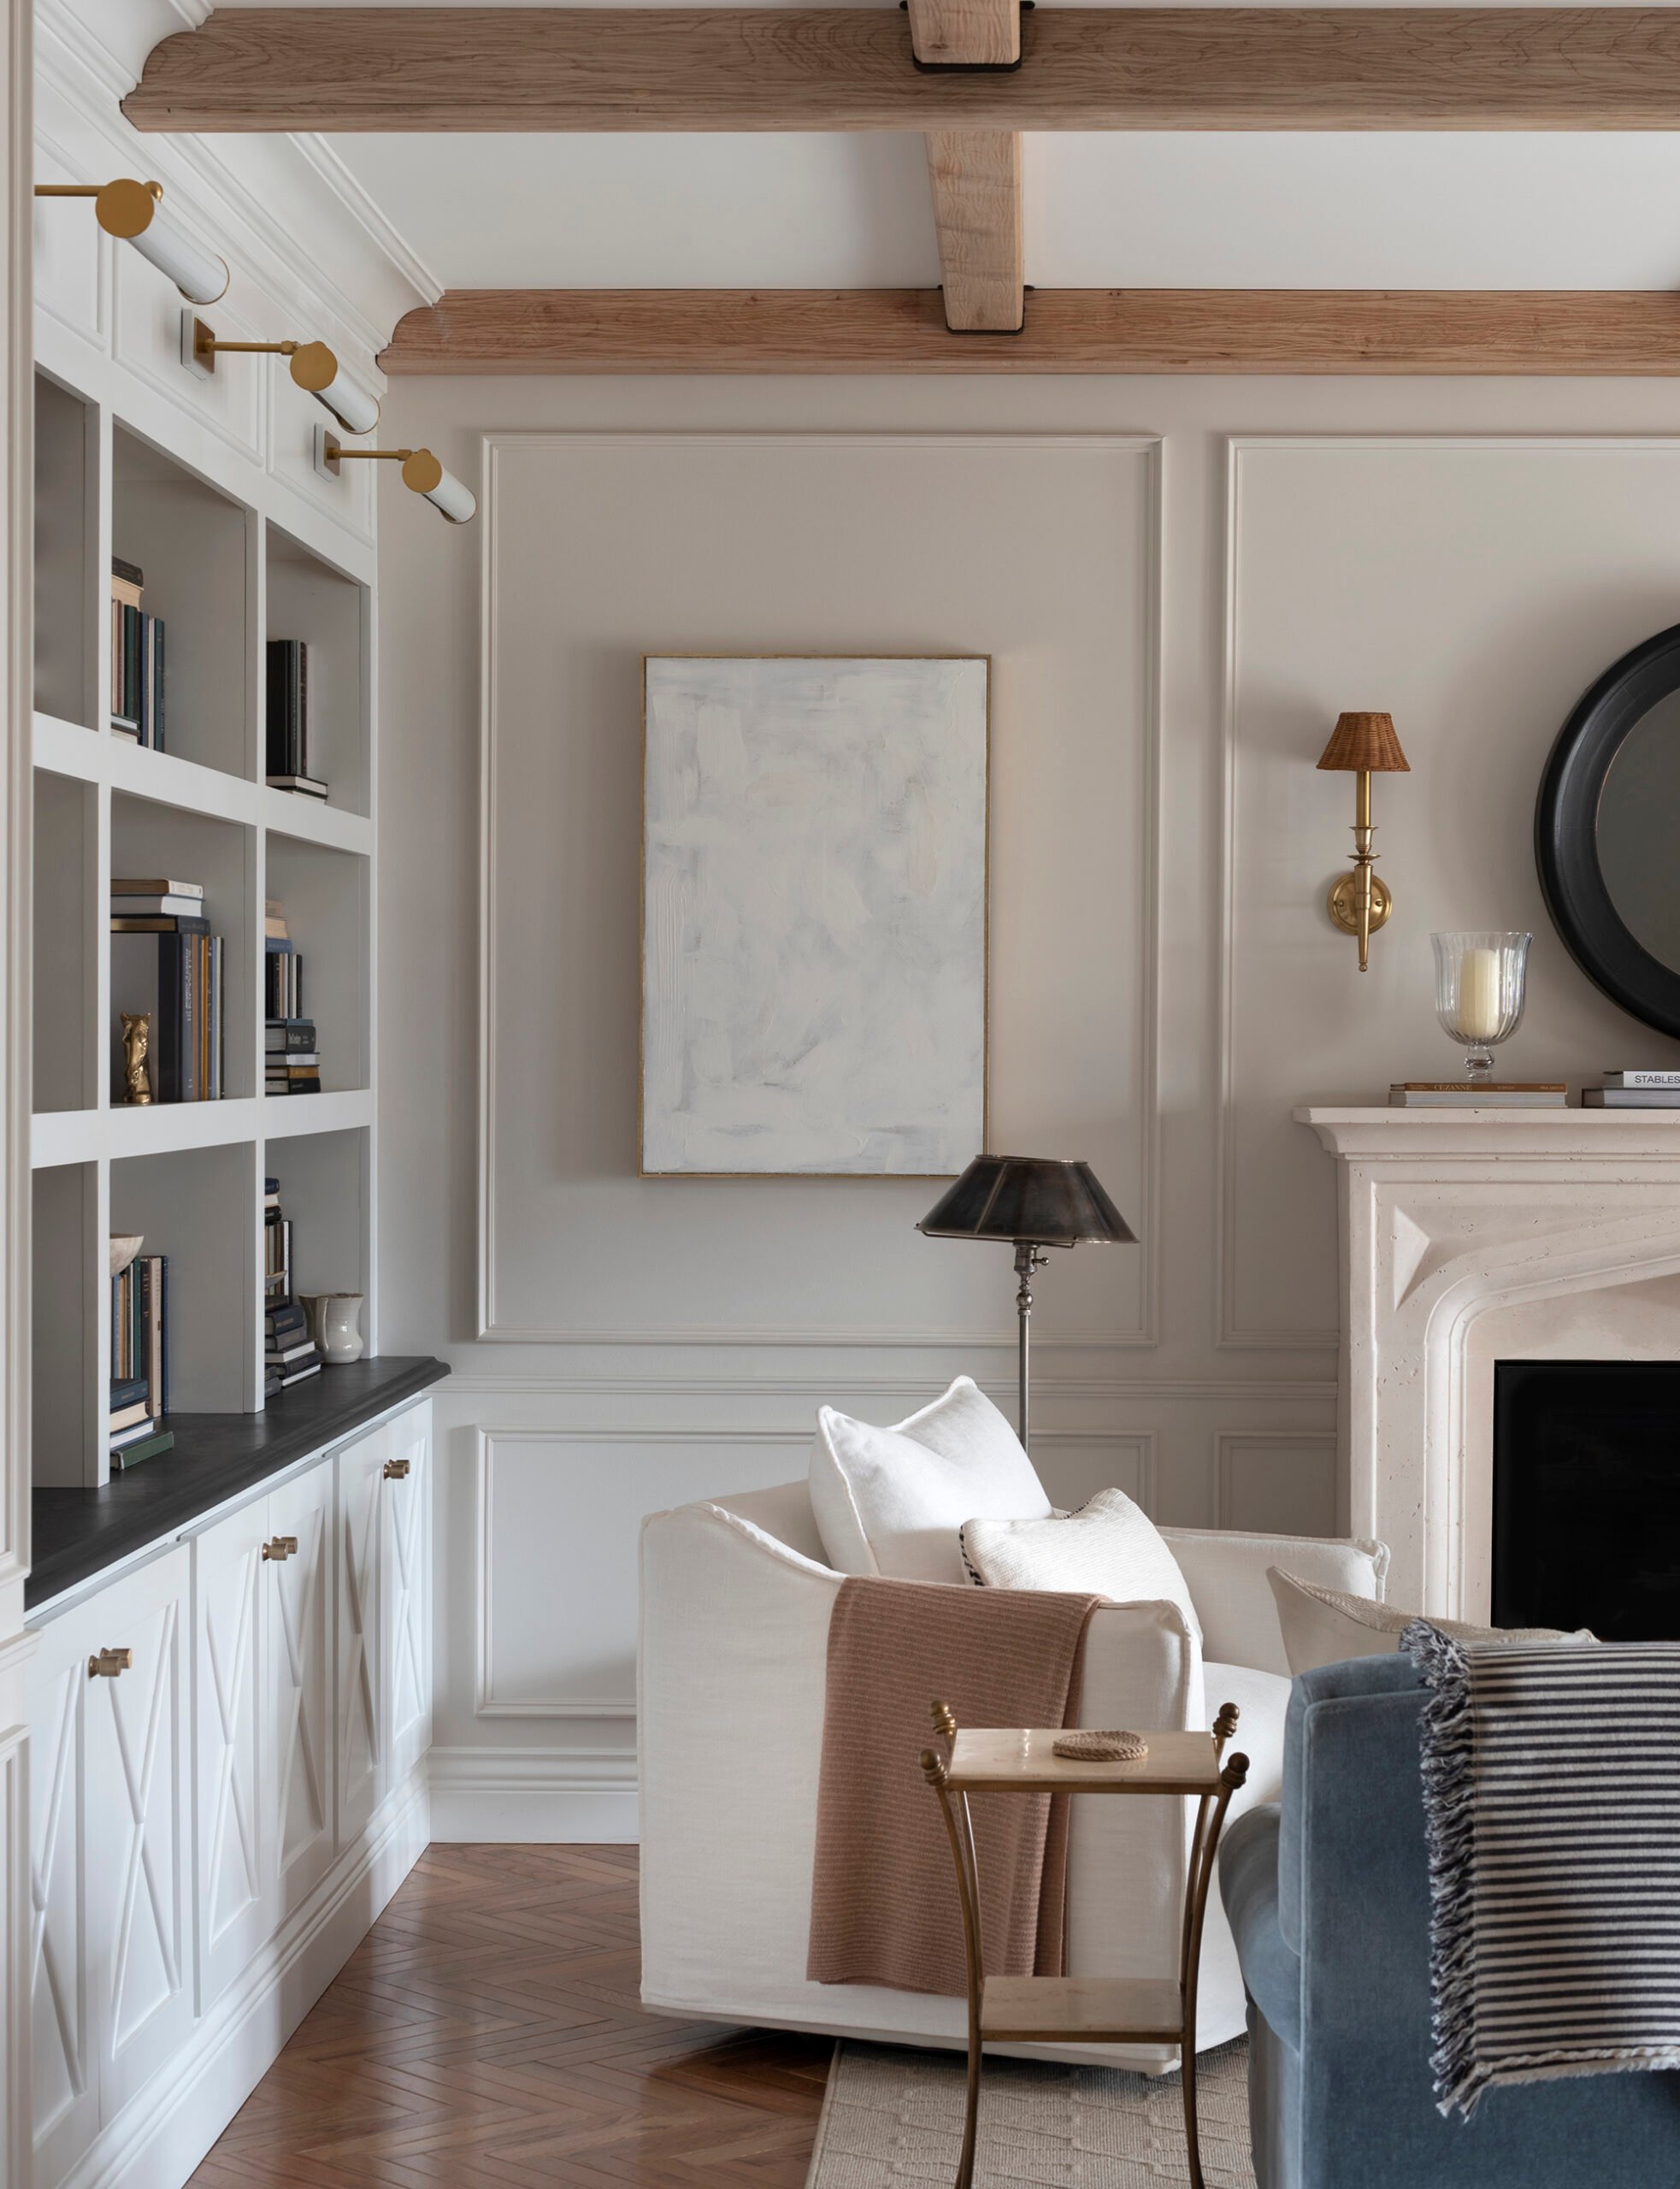
7. Use Light to Highlight Features & Vignettes
Lighting should accentuate your home’s best features or a specific focal point. If your house has a beautiful architectural feature- like built-ins, highlight it with gallery lights. If there is a vignette you love, add a table or floor lamp. Think of your top three focal points in a room and add a light fixture to draw attention to those. Check out this post for how to choose the best picture light for your artwork.

8. Balance Brightness and Mood
Having a room that is “too bright” is not a good look. Many people think the brighter, the better… but that’s not the case when it comes to lighting design. Layer fixtures intentionally and aim for a warm, flattering tone. Speaking of a bright space, a good way to avoid that is to put your fixtures on dimmers, so you have complete control as the mood or function of a room changes.

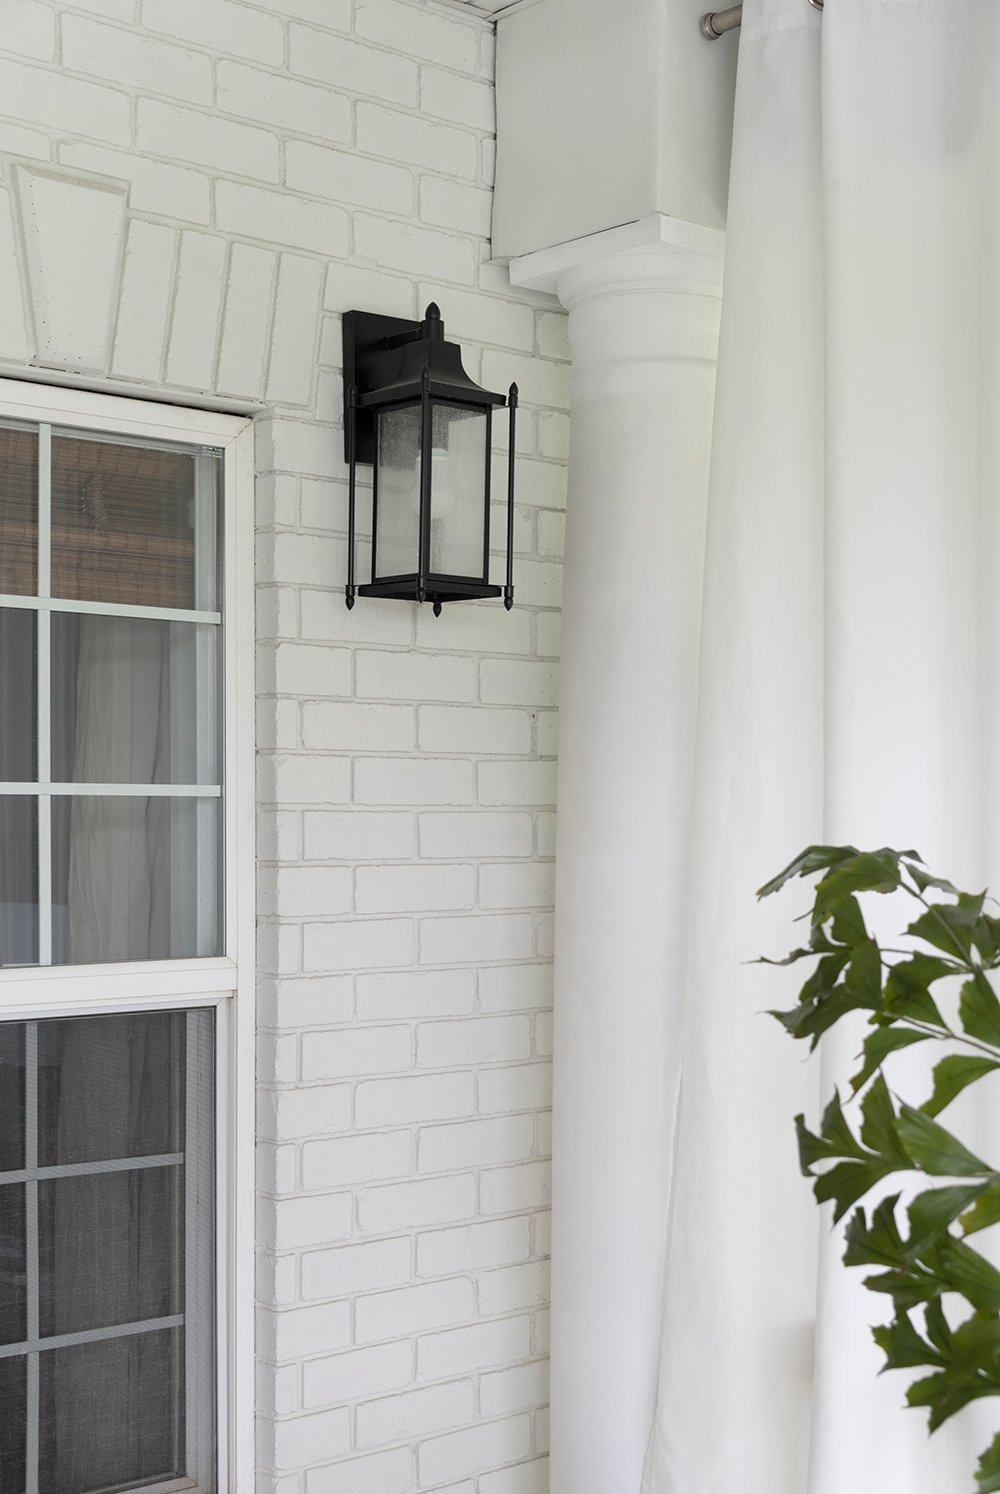
9. Don’t Forget Exterior Lighting
Your exterior deserves the same thoughtful attention as your interior. We spend a LOT of time using our outdoor spaces, so this is your reminder to consider exterior fixtures. It’s often an area that is forgotten. Add front porch sconces, string lights, and landscape lighting (here’s where to install outdoor DIY solar landscape lighting) to extend your living space and create evening ambiance or a thoughtfully lit outdoor space. Exterior lighting makes a home feel inviting from the street and it’s also an easy way to boost curb appeal. Here is my designer guide for choosing timeless exterior lighting.
10. Let One Fixture Be the Star
Allow one fixture to be the star of the room- the fixture that really captures your attention. The other light fixtures should support it, rather than competing. Usually the “hero” fixture is the largest or most dramatic fixture, or it is often associated with the main focal point in the room (like a chandelier over a dining table or a sculptural pendant in the entryway.) Allow that one fixture to shine, and choose simpler supporting lights around it.

11. Integrate Contrasting Materials
All of your lighting shouldn’t be shiny metallic finishes. It’s important to incorporate other textures and surfaces into your lighting plan… consider a chandelier with a plaster finish, an oxidized metal, living brass patina, cotton shades, woven shades, etc. The goal is to add contrast for that layered look we all love.

12. Hang Fixtures at the Right Height
This really boils down to personal preference, but I like to have numbers tucked away as a starting point. Sometimes a light fixture will visually intersect with an architectural feature, a piece of art, or something else, and the alignment can look odd… so I’ll cheat it in one direction or another until it feels balanced and intentional. When planning your lighting placement, start with these general guidelines, then adjust slightly until everything feels visually cohesive with your architecture and furnishings.
Be sure to save, bookmark, or pin these designer measurements! Here are some of the basics I often refer to…
- Pendants above an island: you want at least 24″ between the pendants and a minimum of 30″-36″ clearance beneath the bottom of the pendant and the top of the counter.
- Pendant or chandelier hovering above a dining table: 30″-36″, give or take. I like to add an additional 3″ for every foot of ceiling that’s above 8 feet.
- Chandeliers and pendants in great rooms or spaces with vaulted ceilings: should be installed so the bottom of the fixture is between 8-9 feet off the floor.
- Wall sconces: should be installed 5-6 feet above the finished floor. If installing wall sconces above a mantel, I usually land anywhere between 15″-18″ above the top of the mantel.
- Gallery lights: I like them to be anywhere from 1/2 to 2/3 the length of the artwork (or built-in).
- Bedside sconces: usually float around 21″-22″ above the top of the mattress, or 42″-44″ above the finished floor.

Favorite Lighting Resources
Here is a quick list of some of my go-to lighting sources- which includes a mix of high and low for every project or room…
- Tuesday Made
- Visual Comfort (see my Visual Comfort Dupes, here!)
- One Kings Lane
- Etsy
- Amazon (my top picks are linked)
- Rejuvenation
- Serena & Lily
- McGee & Co
- Alice Lane Home
- Stoffer Home
- CB2
- Wayfair
- Pottery Barn
- Jayson Home
- Lulu & Georgia
- Anthropologie
- Lamps Plus

Lighting FAQ
I definitely avoid the plastic ones, if I can help it. Check out this post for my designer tips for making outlets & light switch plates look better…
Not at all! I love recessed lighting when used sparingly, with proper placement, and always with dimmers. They’re often necessary and add functionality in spaces where more light is required- like a kitchen. I try to buy minimal looking ones and I always install other light fixtures that accompany them (sconces, a pendant, etc). Here is my guide to recessed lighting!
I like to add ceiling medallions in spaces that have a dramatic hanging light fixture of some sort- a pendant, a chandelier, and sometimes even a semi flush mount. They’re great for rooms that are more formal, like a dining room, a formal living space, a bedroom, etc. They’re also ideal for emphasizing a beautiful vignette… like a pendant or chandelier hanging above a soaking tub would totally warrant a ceiling medallion. The medallion should look cohesive with your millwork, and I have an installation tutorial for you here: how to install a ceiling medallion.
This is definitely something that makes a huge difference. I love installing lighting beneath kitchen cabinets, in a bar, or below a bathroom vanity. I shared more in this post, easy smart home kitchen cabinet light ideas (but it applies to bathroom vanities, as well).

Related
Looking for more lighting related posts? I’ve shared a LOT over the years. I’m going to link some of my favorites for you below…
- How to Choose the Best Picture Light for Your Artwork
- Choosing Timeless Exterior Lighting (A Designer Guide)
- Easy Smart Home Kitchen Cabinet Lighting Ideas
- Designer Lighting Picks for Less from Wayfair
- The Best Designer Approved Ceiling Fans & How to Choose One
- How to Deep Clean a Fabric Lampshade
- Hiding Cords for Wall Sconces & Picture Lights
- How to Choose a Clip On Sconce or Chandelier Shade
- Designer Light Fixtures That Will Never Go Out of Style
- 20 Classic & Affordable Light Fixtures from Amazon

Design is in the details and lighting is one of the most beautiful details of all. I’m pretty passionate about lighting, if you couldn’t tell. One of my dreams or goals is to design a lighting line someday. I would absolutely LOVE to do that, so if you know of anyone in the industry who is looking for a partner or collaboration, I’m your girl! Haha! But really, it would be a complete dream come true. Hold me to that, ok?! I’m all ears for your questions in the comment section below! I hope this post was helpful and informative.

The post How to Layer Lighting Like a Designer appeared first on Room For Tuesday.