Our side yard garden has evolved over the span of a few years, so I wanted to share an updated progression of how it currently looks, versus where it started. This small space used to drive me crazy every spring and summer. It wasn’t functional, it certainly wasn’t pretty, and the invasive vines would quickly take over. The first year we moved in, we had cut back the ivy 3-4 times, which wasn’t sustainable. I knew it was time to turn that part of our yard into something that could actually serve us, while blending more seamlessly with our aesthetic. In this post, I’m walking you through exactly how we created our charming side yard garden- using simple and straightforward steps you can tackle on your own. At a minimum, hopefully this post provides some inspiration for any unsightly outdoor spaces that aren’t working well for you.
Both Emmett and I grew up on farms with big gardens. In our first home (in Ohio), we had a giant garden… we’d till the soil, plant neat rows of veggies, can food, and still have plenty to share with neighbors. Now that we’re in a suburban neighborhood with a much smaller yard (mountainside in Utah, no less), we had to get a little creative. I wanted to find a way to make the most of our space without giving up the joy that comes from gardening. This is what we came up with: a simple but functional setup with potted plants, a raised bed, a small herb garden, and a much cleaner layout that works for the area we live now.
Before the Makeover
Here’s where we started. The ivy had already begun creeping toward the HVAC units, which is exactly what I wanted to avoid by jump starting this project. It might not look terrible in early spring, but by summer it becomes a bit of a jungle-looking mess. It climbs the house, entangles the duct work, and chokes out everything in its path. Not only was it a visual distraction, but it also made the space unusable.

Planning the Garden Layout
When we sat down to figure out the plan and sketch the layout, I kept our goals simple. We needed something low maintenance, budget friendly, and quick to implement. I knew I wanted a raised bed, a few containers for herbs and seasonal vegetables, and a way to conceal the HVAC units. It wasn’t about creating a dream garden overnight, but rather building a foundation we could add to year after year. Today, it looks like this…

We cleared out the ivy and brought in gravel to level everything out. I knew it wouldn’t be perfect at first, but the goal was function and ease. I decided to focus more on aesthetics and sourcing planters the following year.

Supplies and Tools
Here’s a quick list of the supplies and tools we used to bring our side yard garden to life. It was pretty budget friendly!
- A white-painted raised garden bed
- Eight or nine bags of raised bed soil
- Plant labels (I used my label maker for these)
- A mix of existing pots (which I later upgraded to timeless terracotta)
- Landscaping gravel
- Weed barrier fabric
- Staple gun
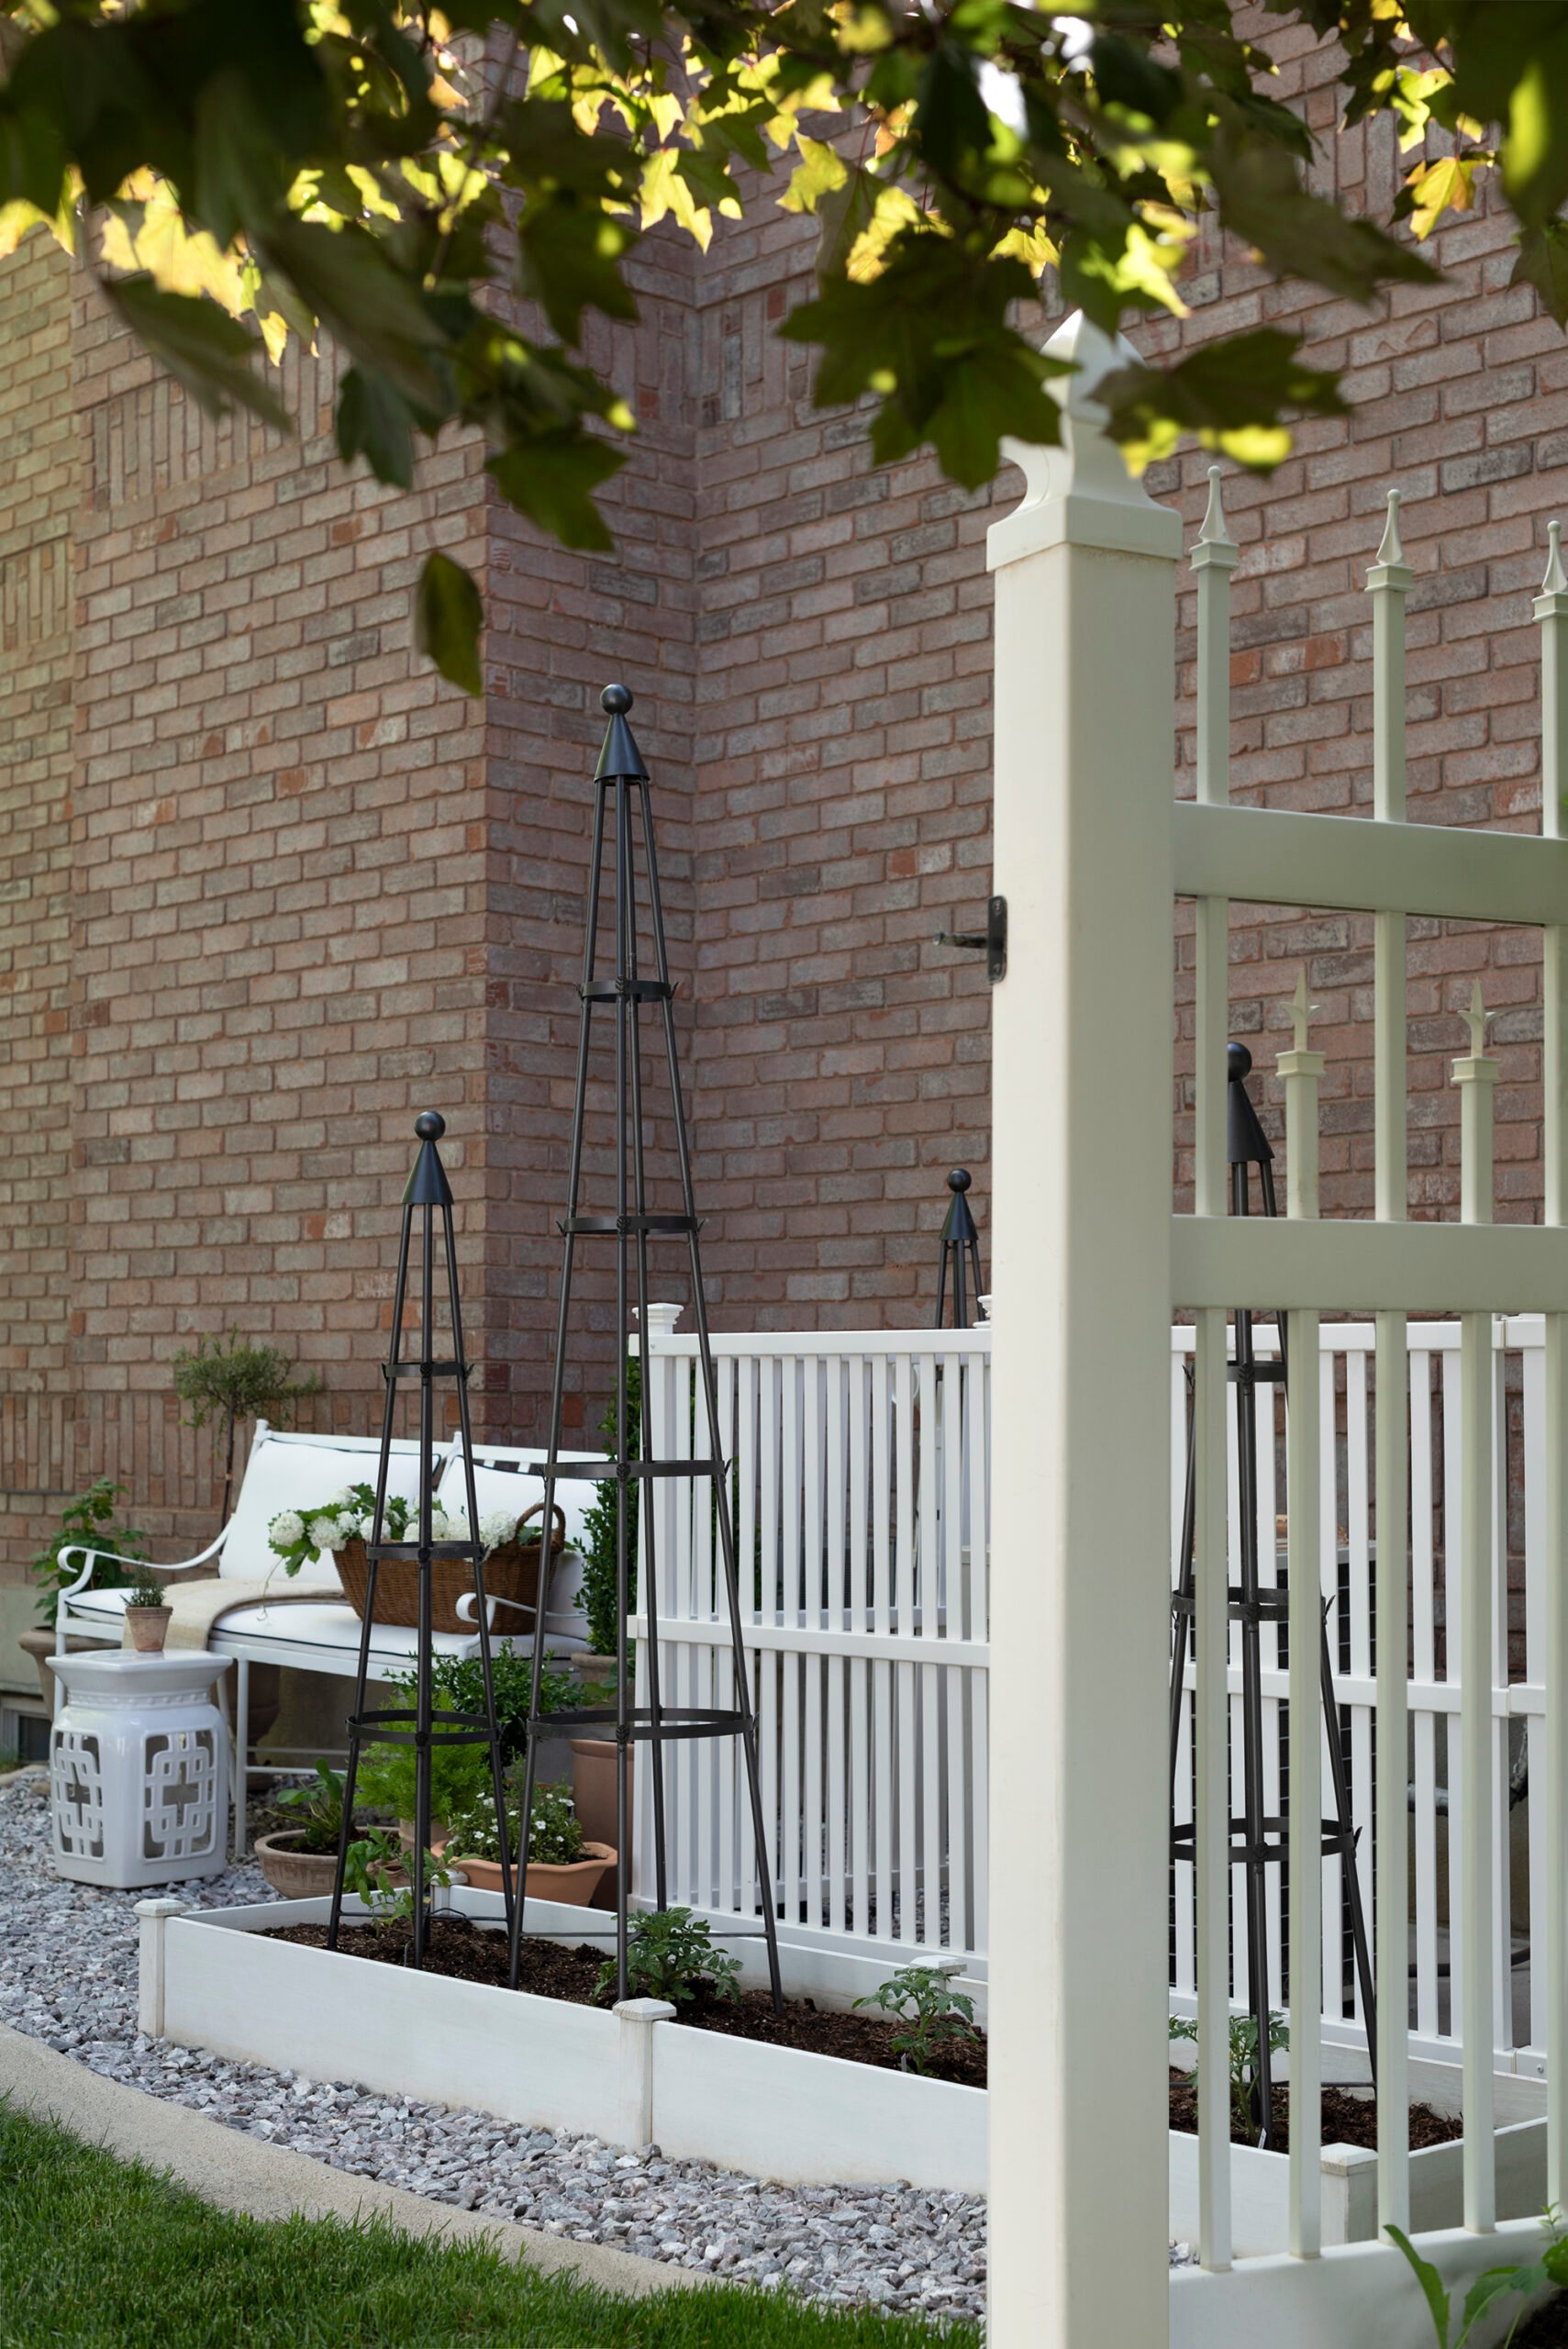
- Privacy panels to hide the HVAC units

Step-by-Step Tutorial
Here’s how I brought our little side yard garden to life. I broke the process into manageable steps so it’s easy to follow, whether you’re starting fresh or just refreshing an existing backyard space.
Step 1: Assemble and Paint the Raised Bed
We put the raised bed together in about thirty minutes, and I gave it a quick coat of white paint so it would blend better with the fence and exterior. It’s a small step that made it feel more intentional.

Step 2: Staple in the Weed Barrier
To keep the soil from spilling out or washing away with each watering, we stapled weed barrier fabric to the inside of the bed. It also helps keep things tidy underneath.

Step 3: Fill with Soil
We broke up the raised bed soil before pouring it in. I always double check for clumps to make sure everything is aerated and ready for planting.

Step 4: Plan the Layout
Spacing is key when it comes to a small bed. I measured out the area and decided where each plant would go based on its growth needs. That helped keep everything organized and ensured there was enough room.

Step 5: Start Planting
Before you begin planning… make sure the timing is right! Read this post for my best tips on gardening with the phases of the moon: lunar planting guide. My family swears by this method. Aside from that, I just follow the instructions that came with our starter plants and seeds. Some went in deep, others need to be planted shallow. This part always gets me excited for what’s to come!

Step 6: Label Everything
I know what’s planted where, but I still like to use labels. It’s especially helpful when Emmett is helping in the garden or if someone else needs to water or harvest. It’s a small step that adds both style and function.

What We Typically Plant
We typically plant our favorites: strawberries, bell peppers, jalapeño peppers, zucchini, onions, cucumbers, a few types of tomatoes, melon, and of course a mix of herbs from my herb garden setup. We tried to keep it balanced between what we eat often and what’s fun to grow.

Be sure to water your plants regularly and make sure they get adequate sunlight. Lots of people begin a garden and forget how much work or care goes into maintaining it. My biggest piece of advice is to stick with it and create a routine, in an effort to avoid neglecting it.

Hiding the HVAC Units
The HVAC units on the side of the house are not pretty. To hide them, I used readymade fence panels that matched our backyard fence. They were affordable, fast to install, and they’ve held up really well. As our garden fills in and things grow taller, those panels blend more seamlessly.

Gravel and Maintenance Tips
Since the ground is now covered with marble chips- a type of gravel, I needed a low maintenance way to keep it looking clean. Every spring the trees drop a ton of seeds and pollen, so I use a leaf blower or spray things down with the hose. It keeps everything looking neat without much effort- which is ideal for this type of space.

FAQ
I always start with what we’ll actually use. Since space is limited, I prioritize herbs and vegetables we cook with often. I also consider how things grow and spread… compact or vertical growers are great in smaller gardens. I sketch the layout first to make sure everything has enough room.
Raised beds give me more control over the soil quality and drainage, especially in our yard- which doesn’t have great soil. I also like the defined structure they add to the space. From a design standpoint, the raised bed makes the garden look tidy and intentional, even when things get a little wild mid-summer.
In many ways, yes. I think about proportion, balance, flow, and focal points, just like I would indoors. I try to make sure the garden doesn’t just work functionally, but also looks considered and complements our home’s exterior style. Good design should carry through every space, inside or out. My inspiration was tiny English garden. What do you think? Does it work?

Related Gardening Projects
Looking for more home DIY garden projects? I’ve shared several that might help with your next update. I’ll link them for you below so you can easily find the ones that fit your space.
- Tips for Growing and Caring for Boxwoods
- Gardening with the Phases of the Moon: Lunar Planting Guide
- My Go-To Spring Gardening Essentials from Lowe’s
- Classic Planters for Every Aesthetic and Budget
- Our Lawn Care & Landscaping Routine
- The Easiest Indoor Plants that Thrive in Low Light
- How to Install Window Flower Boxes

Final Thoughts
This project made me appreciate having even a small garden! It’s not a massive farm plot or anything fancy, but it works for our lifestyle and yard size. I enjoy checking on my plants every morning, and it’s been fun seeing what’s thriving. I’ve been harvesting lots of tomatoes, peppers, berries, and even early season zucchini.
It’s also a good reminder that you don’t need a big yard or a ton of space to grow your own food. A few pots, a raised bed, and some elbow grease can go a long way. If you’re thinking about starting a garden in a smaller space, I hope this gave you some ideas and encouragement. Let me know if you have questions! Are you growing anything this year? I’d love to hear in the comments below.
The post Side Yard Garden DIY appeared first on Room For Tuesday.